


The buckhorn Worthington traverse was not how I expected to spend my weekend. The original plan was to head into the North Cascades and climb a few Bulger Peaks. Unfortunately, fires had other plans. Air quality across parts of the North Cascades was sitting somewhere in the high 200s, which made spending an entire day sucking smoke into my lungs seem like a questionable idea. Luckily, the Olympic Peninsula was not on fire. Enter the buckhorn Worthington traverse.
I left late Saturday once the worst of the ferry traffic had died down. The goal was simple: get to the Tubal Cain trailhead, sleep in the car, and start hiking somewhere around sunrise.
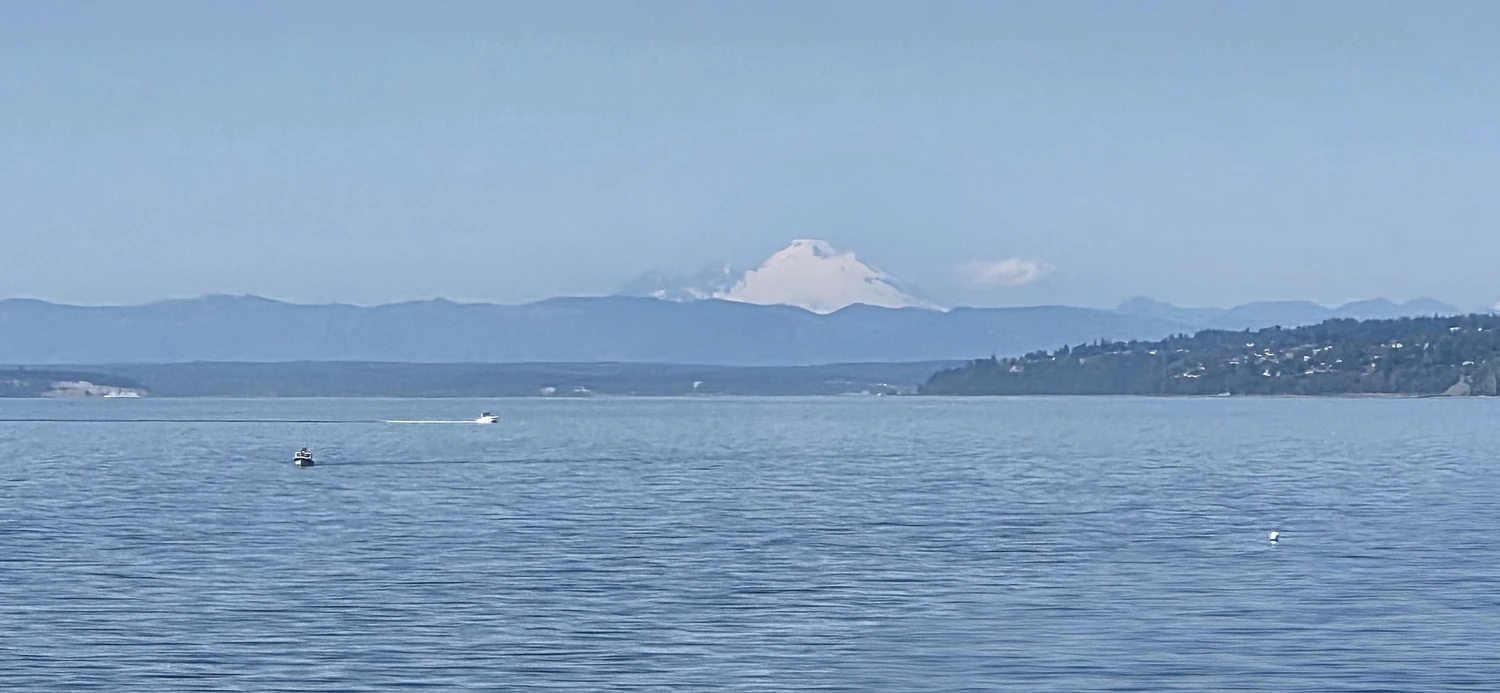
The first challenge appeared well before I put on my pack.
The road to the Tubal Cain trail head is a disaster.
Several Washington Trails Association reports describe the final road as being better suited for high-clearance vehicles. I would agree that high clearance is preferable, but I still managed to get my small Corolla to the trail head.
The last few miles were particularly rough, and there were plenty of spots where I had to crawl along while carefully choosing where to put my tires. If you drive a small car, it is possible, but this is not a road where I would get impatient.
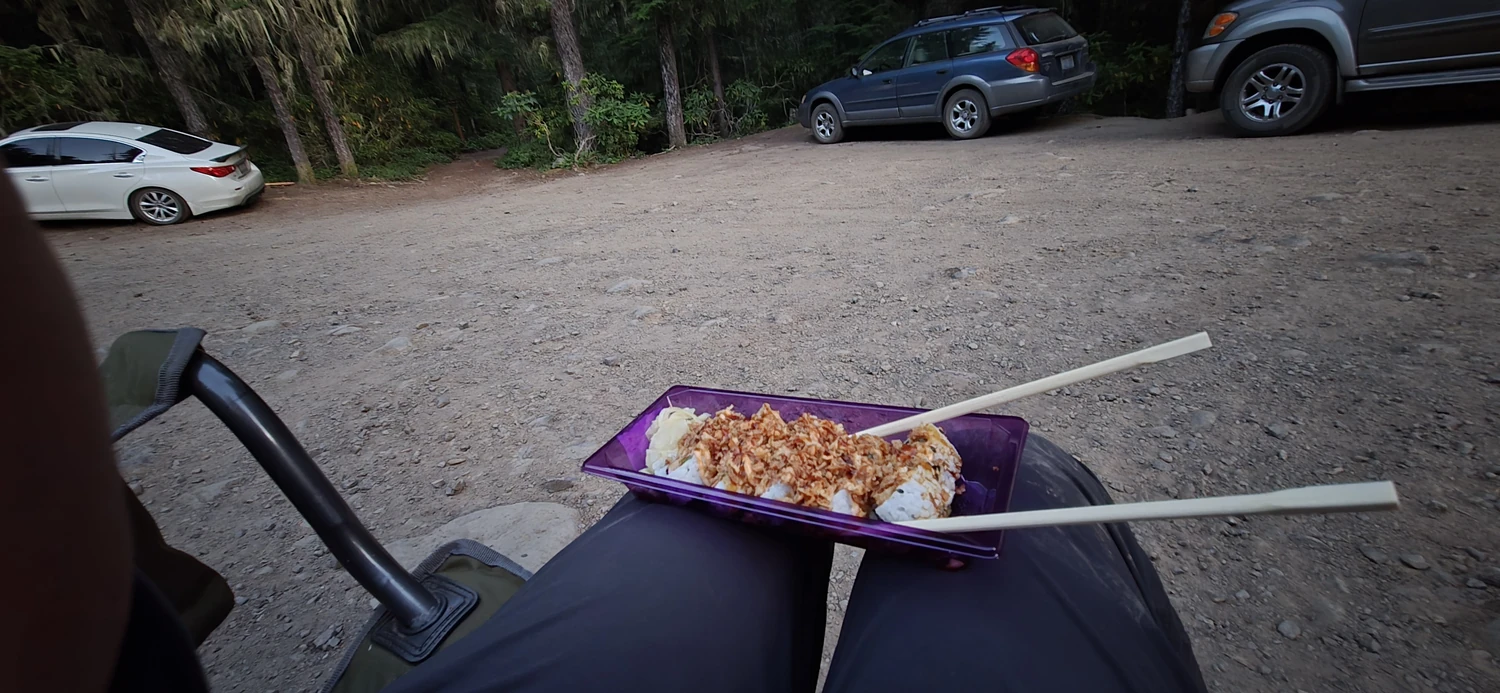
I arrived at the Tubal Cain parking area with about an hour of daylight remaining. That gave me enough time to settle in, eat some sushi, rearrange a few things in the car, and go to sleep.
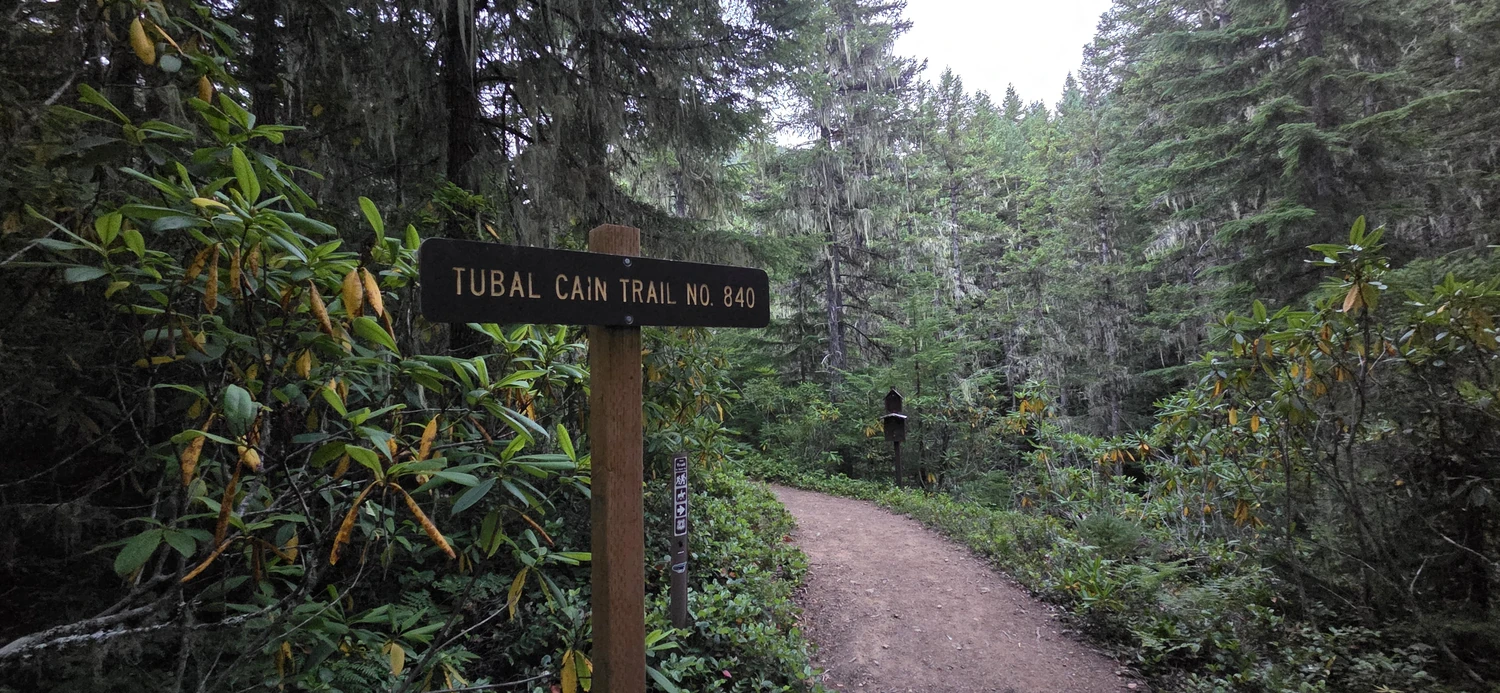
At 5:30 the next morning I hopped out of the car ready to get moving. A quick snack, some coffee, and a few minutes throwing gear into my pack were all I needed before starting the Buckhorn Worthington traverse.
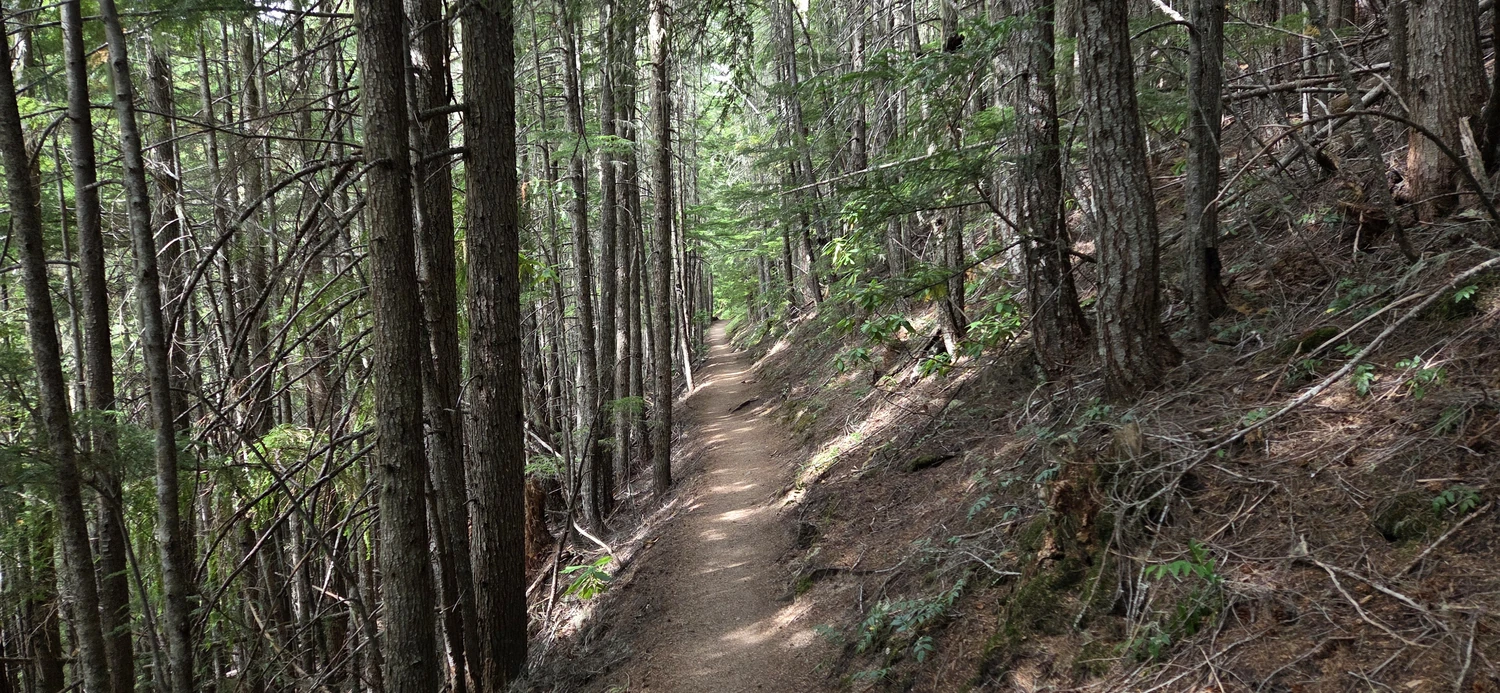
The Tubal Cain Trail makes for a pleasantly easy beginning.
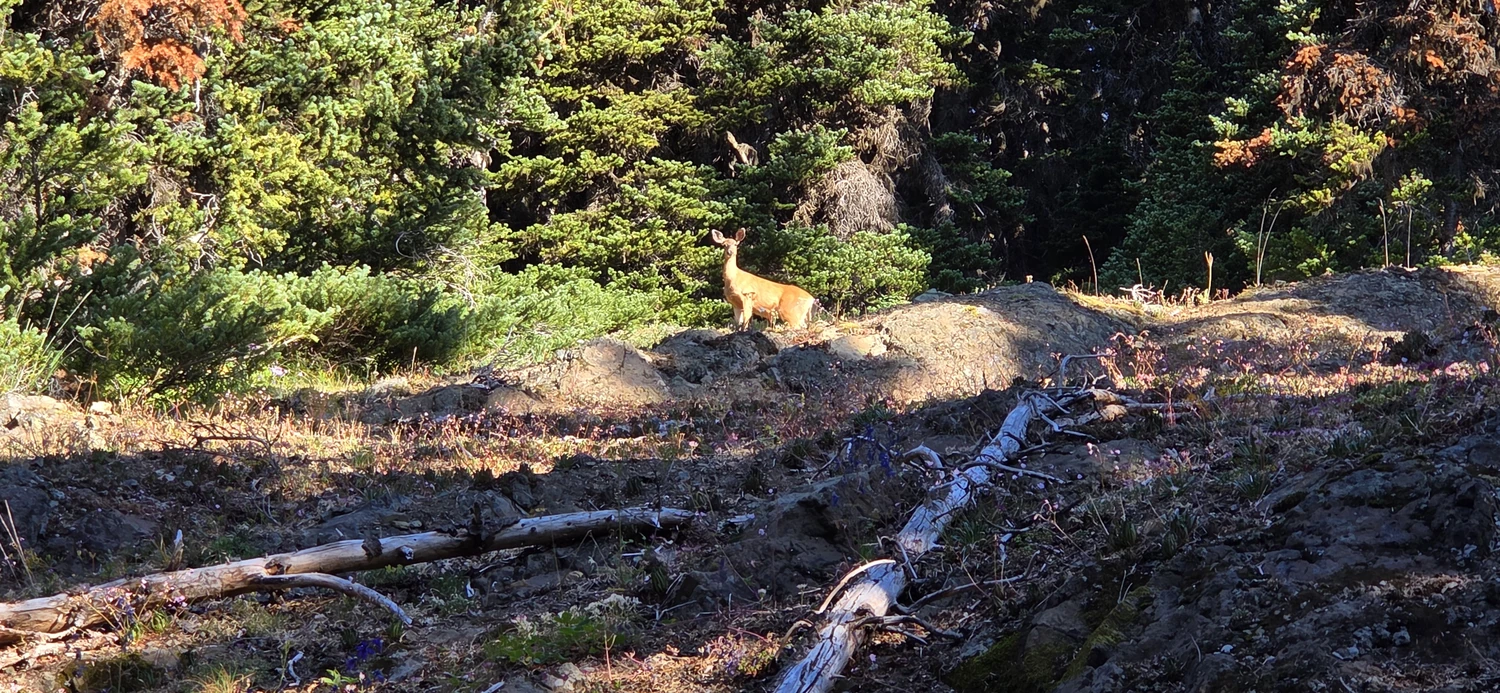
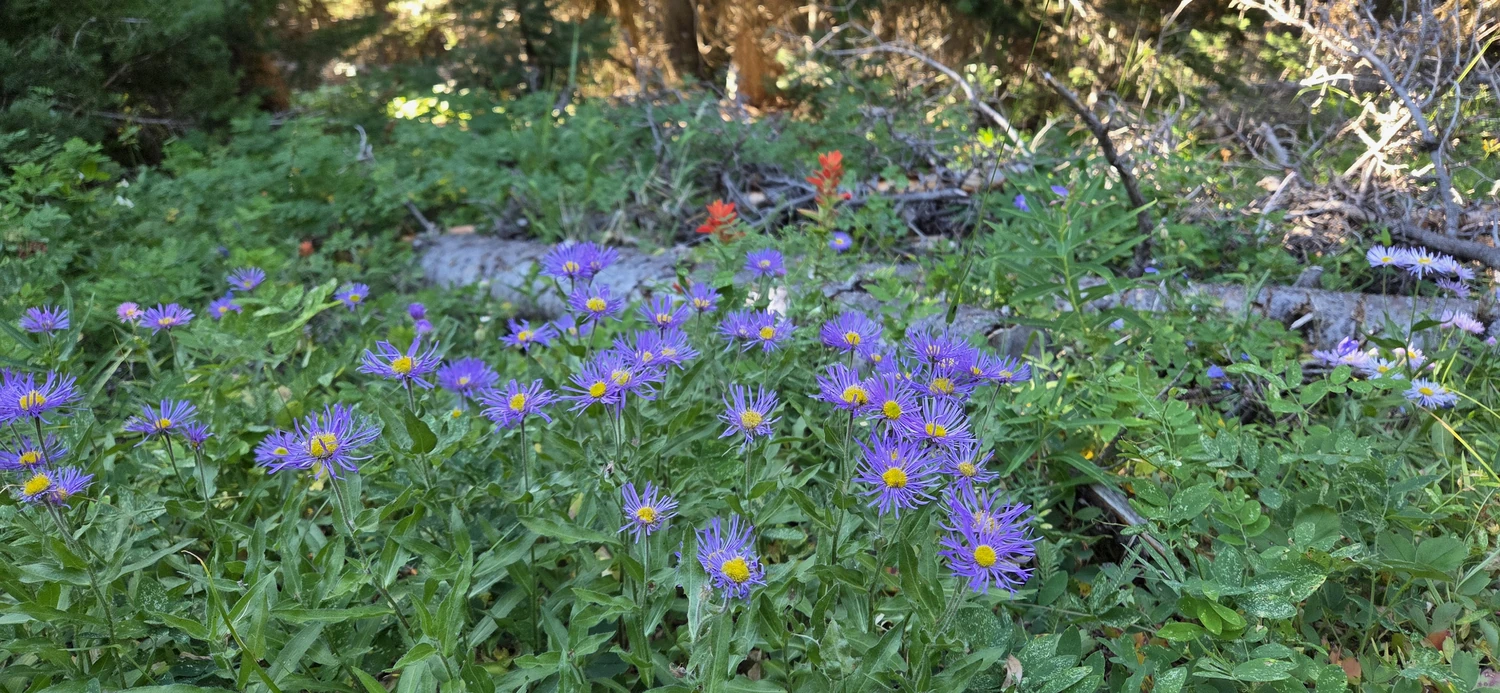
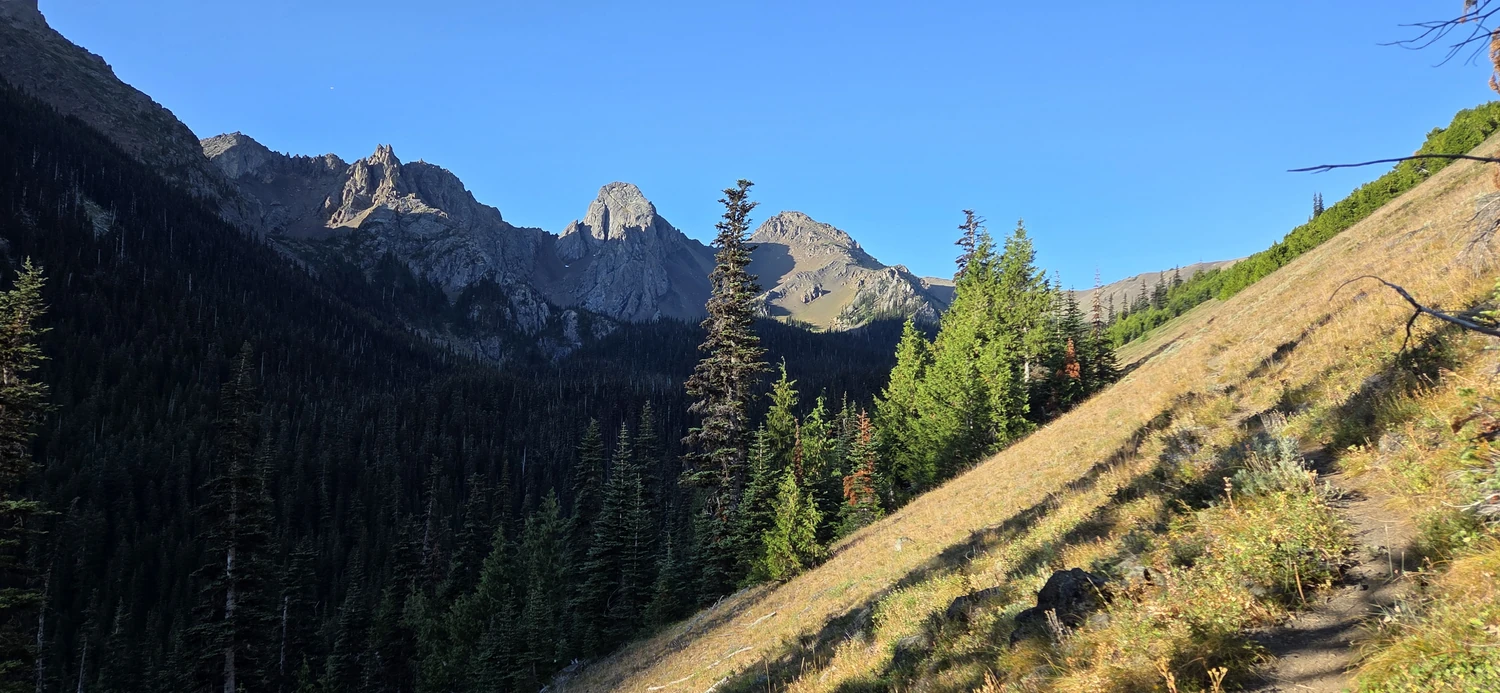
It is well cut and provides a straightforward approach toward Buckhorn Mountain. Along the way I passed plenty of wildflowers, spotted a bear and a few deer, and occasionally caught glimpses of the mountains I would be spending the rest of the day climbing.
There were also numerous campsites along the trail, most of which were empty.
For anyone wanting to split this trip into something longer, hiking in and camping would be easy enough. For my purposes, carrying a tent, sleeping gear, and everything else across the ridges sounded miserable. The Buckhorn Worthington traverse already involved enough scrambling without adding an overnight pack.
The climb to Buckhorn Mountain is the easy part.
There is essentially a trail all the way to the summit. Some portions may not be an official trail, but enough people have traveled through that the route is obvious. There is minimal technical difficulty, and for a casual hiker Buckhorn makes an excellent place to take some summit photos and then return the way you came.
Continuing beyond Buckhorn is where everything changes.
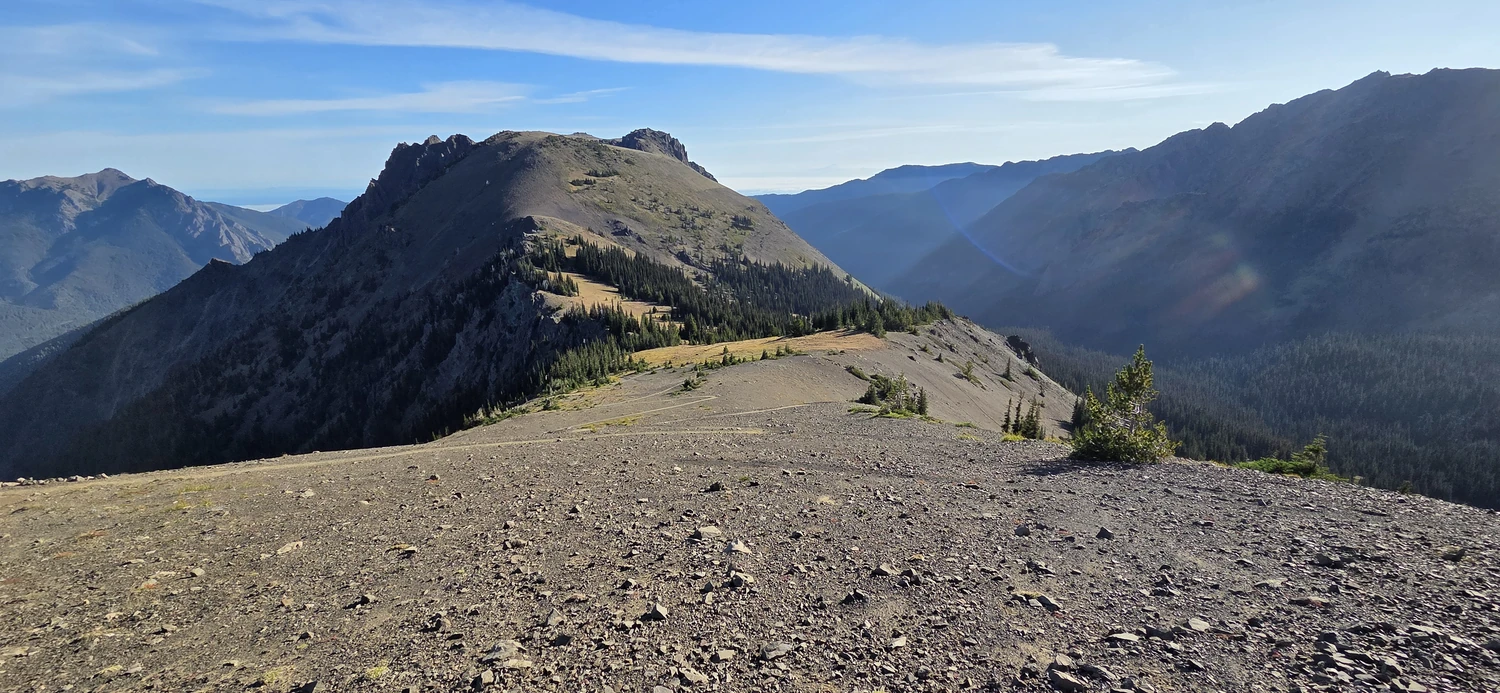
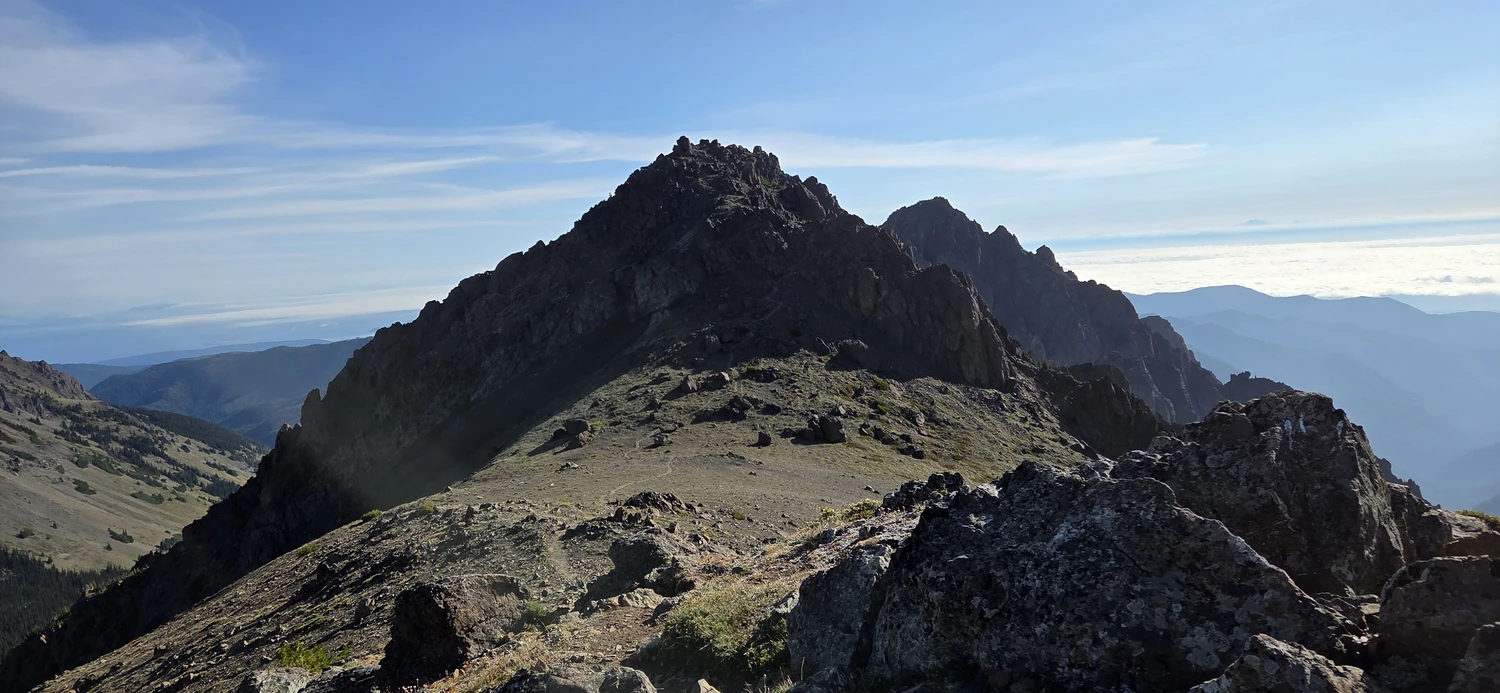
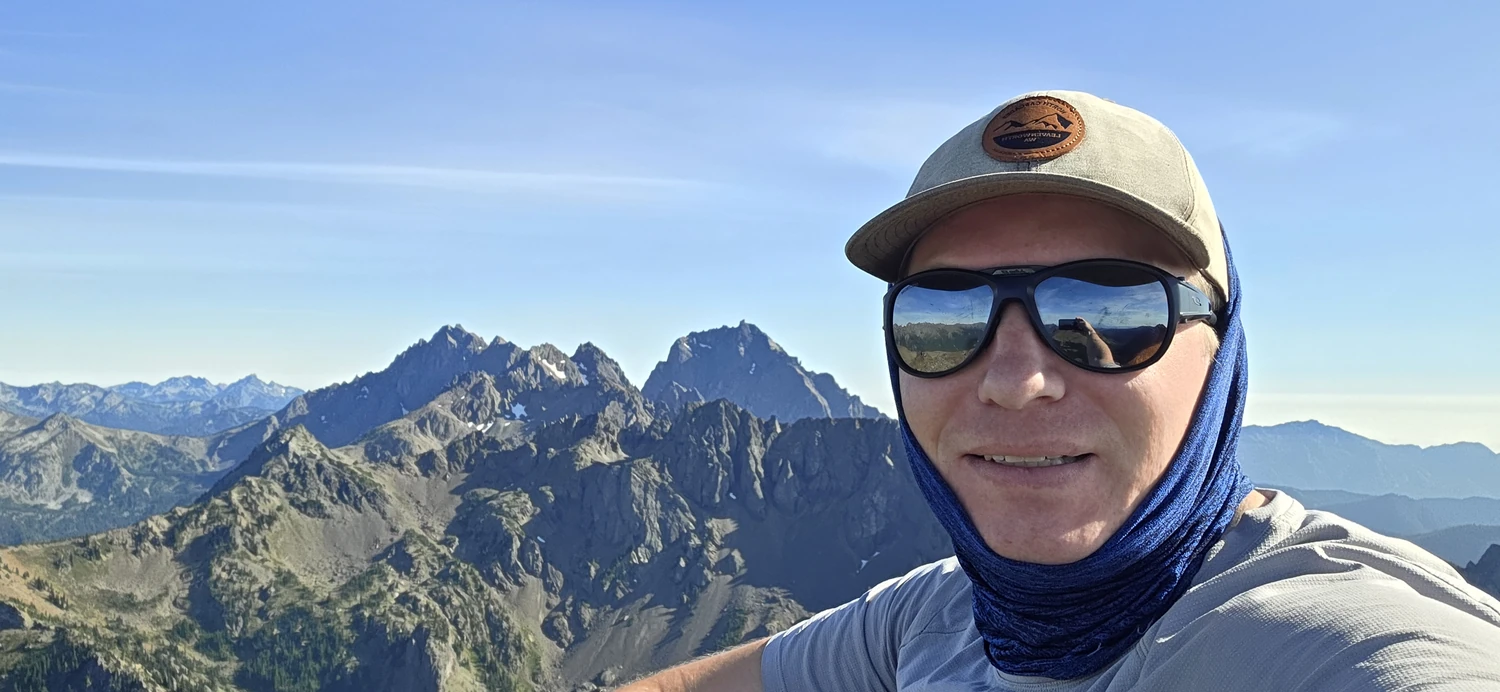
My first attempt at getting off the summit was down the west side. That turned out to be a bad choice. I repeatedly ran into cliff-outs and eventually admitted defeat, climbed back to the summit, and tried the east side.
That worked better, although it still required some searching.
I worked around several more cliff bands until I finally pieced together a Class 2 route down toward the ridge connecting Buckhorn with North Buckhorn. Once on the ridge, the going became easy again. Sand and scree made for straightforward walking while I approached what looked like the nearly impenetrable south side of North Buckhorn
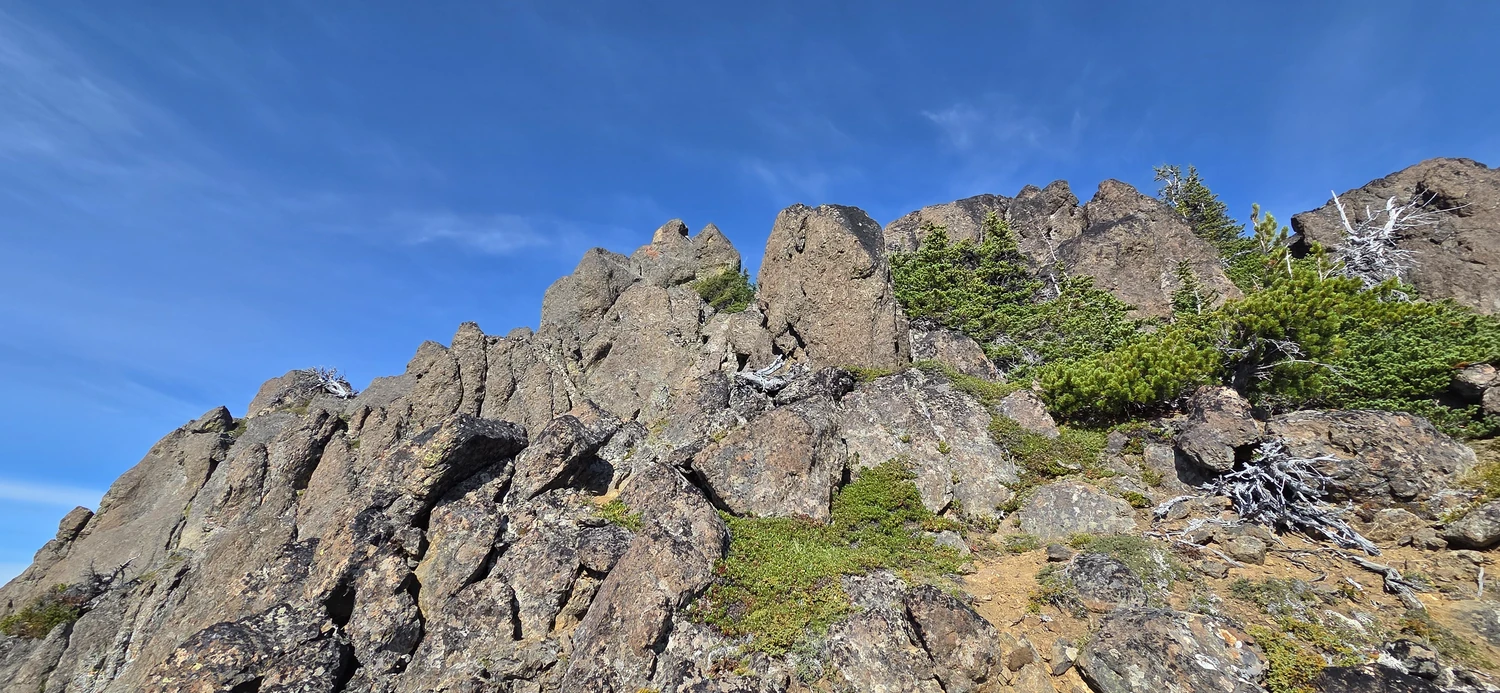
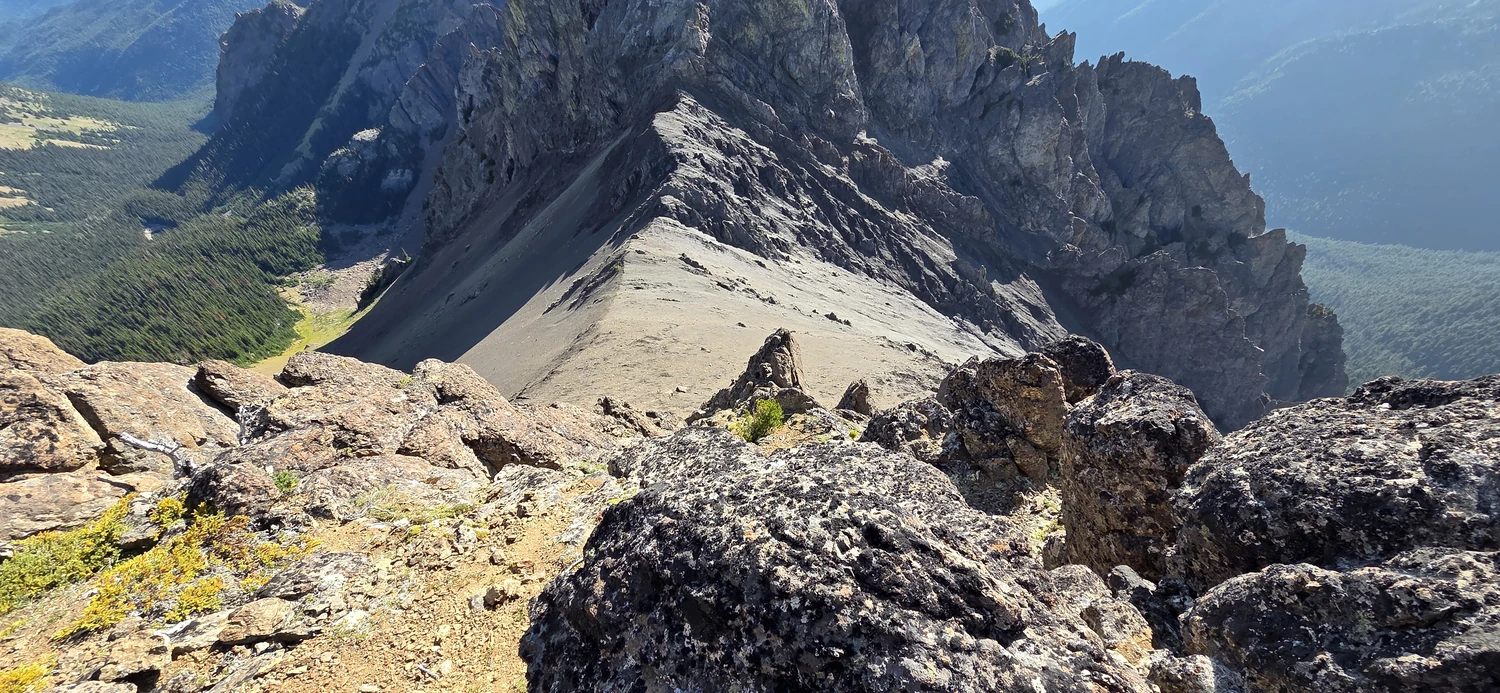
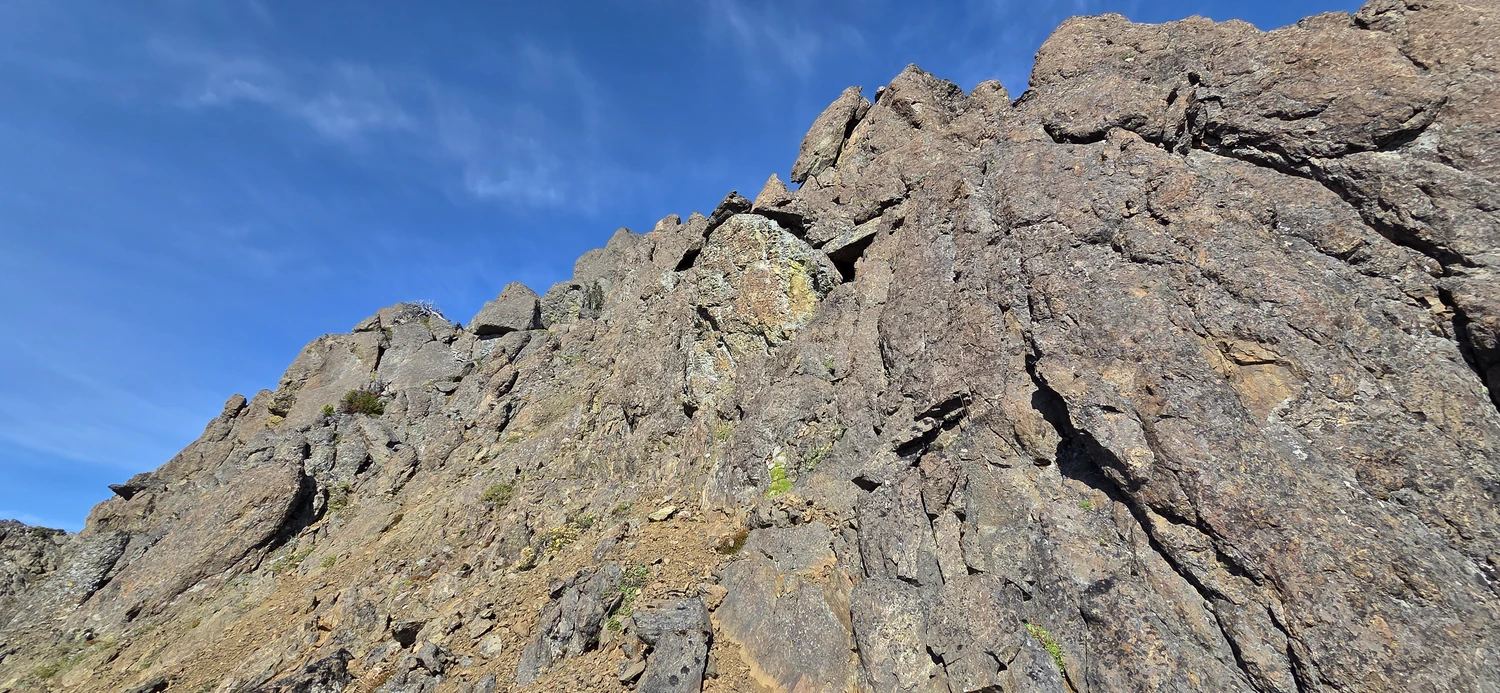
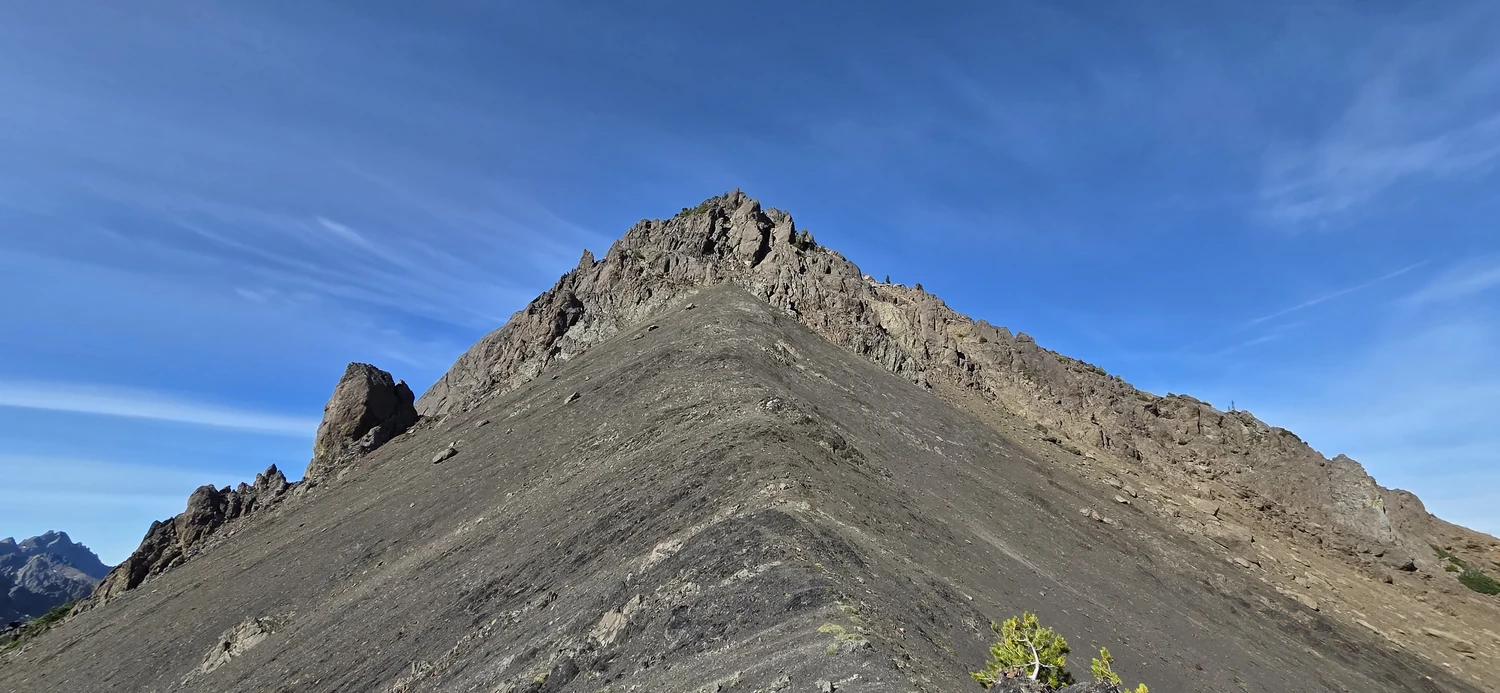
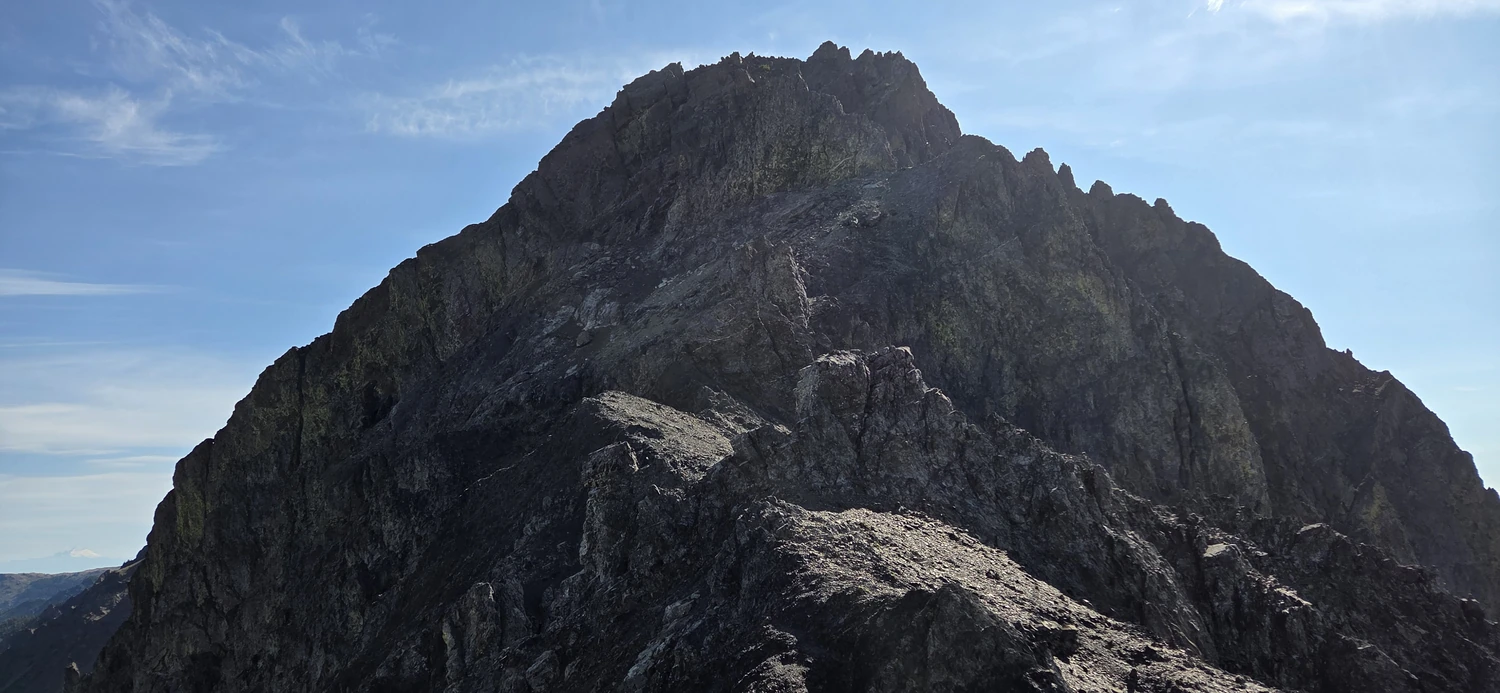
From a distance, North Buckhorn looks terrible.
Up close, however, a Class 2-3 route begins to reveal itself through the rock. The biggest issue is that much of it is crumbly. Careful foot placement matters, but anyone comfortable moving through loose Class 2-3 terrain should be able to work their way upward.
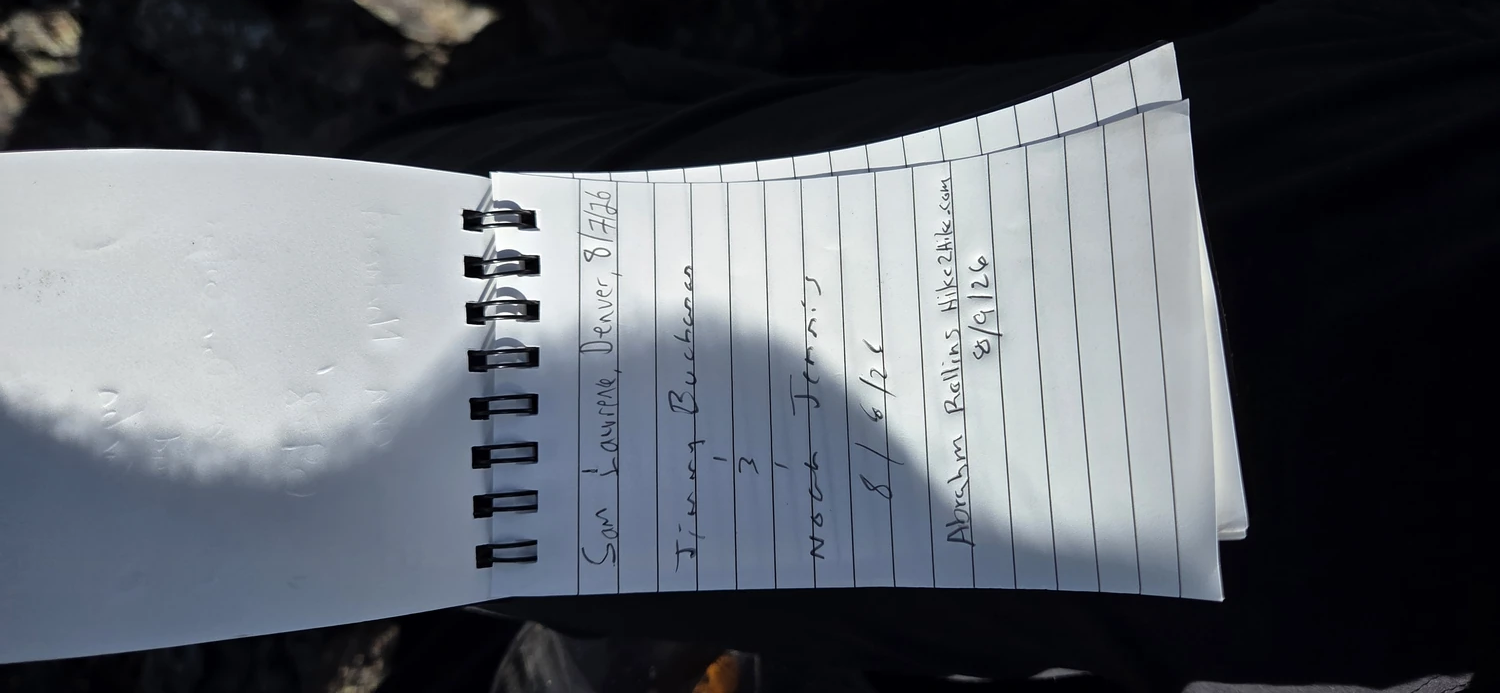
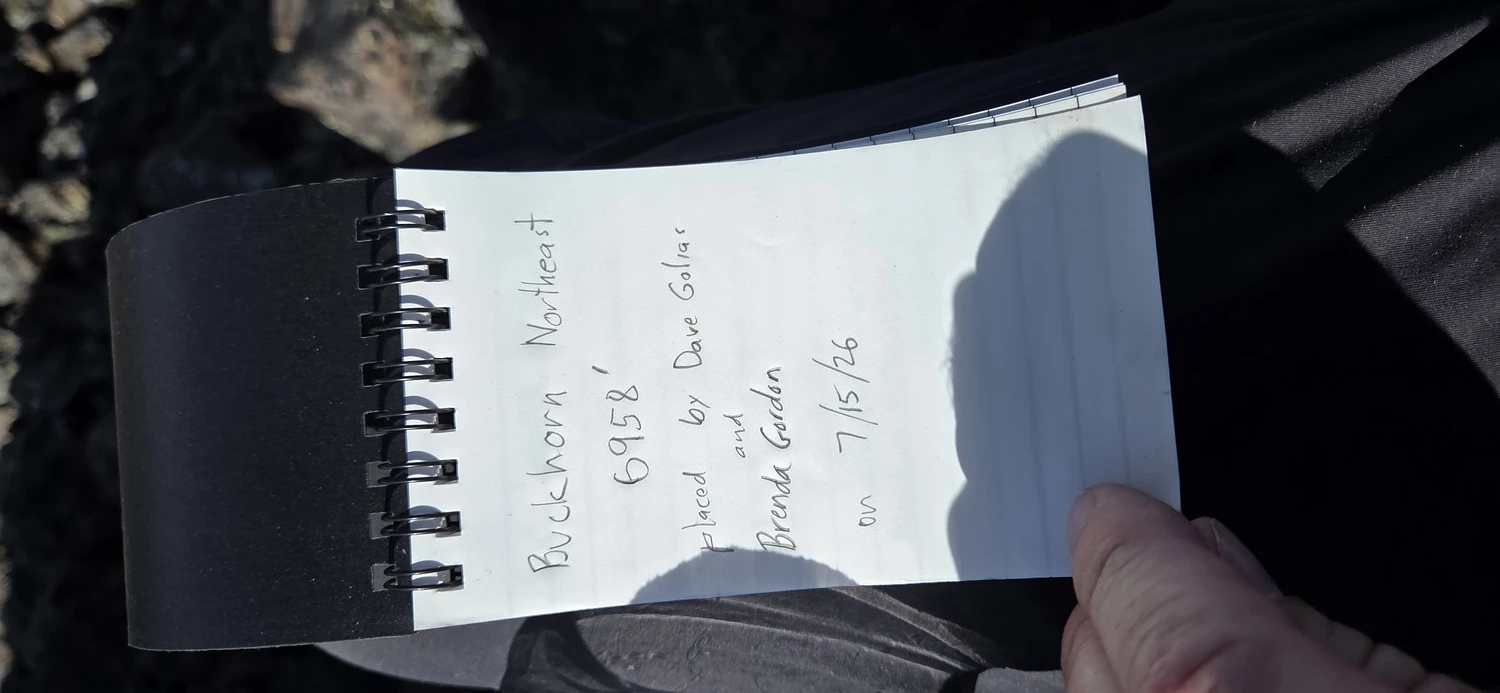
North Buckhorn had a newly placed summit register, which I quickly signed before turning my attention toward the next descent.
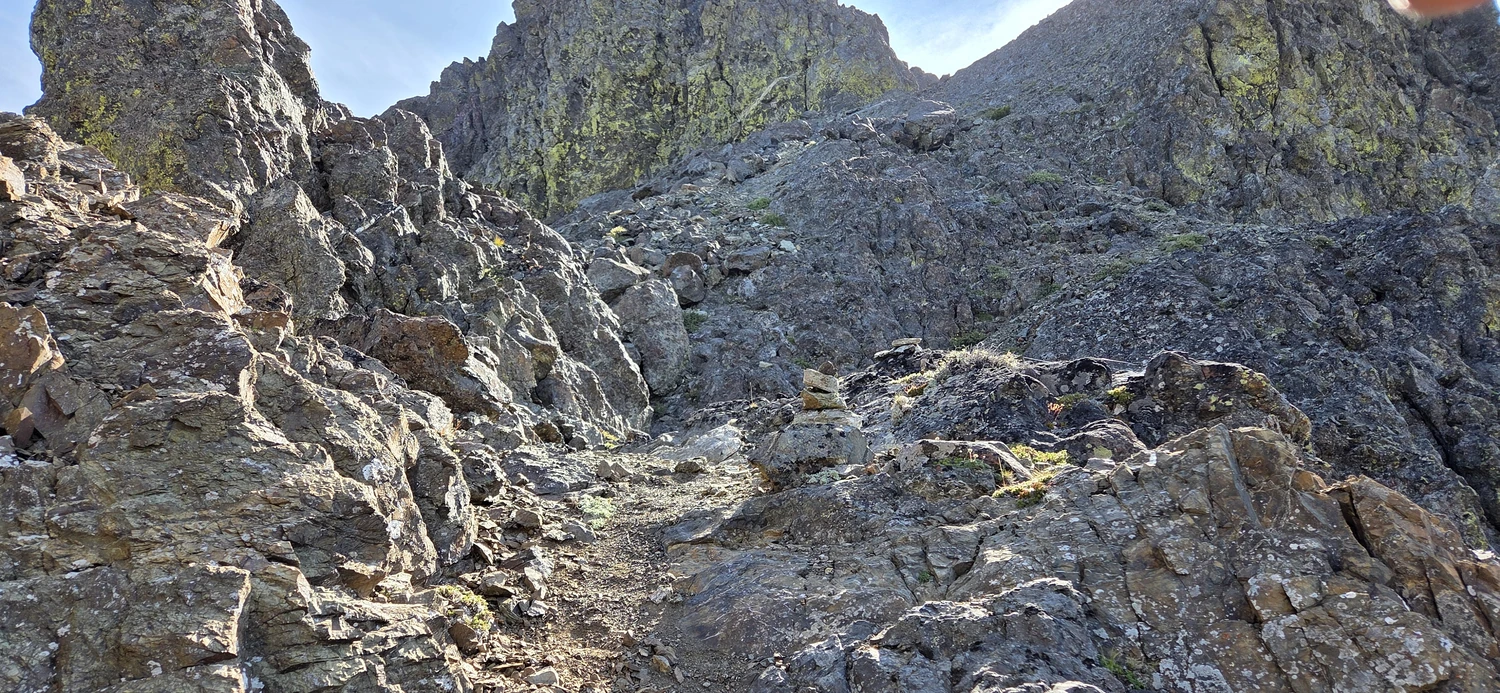
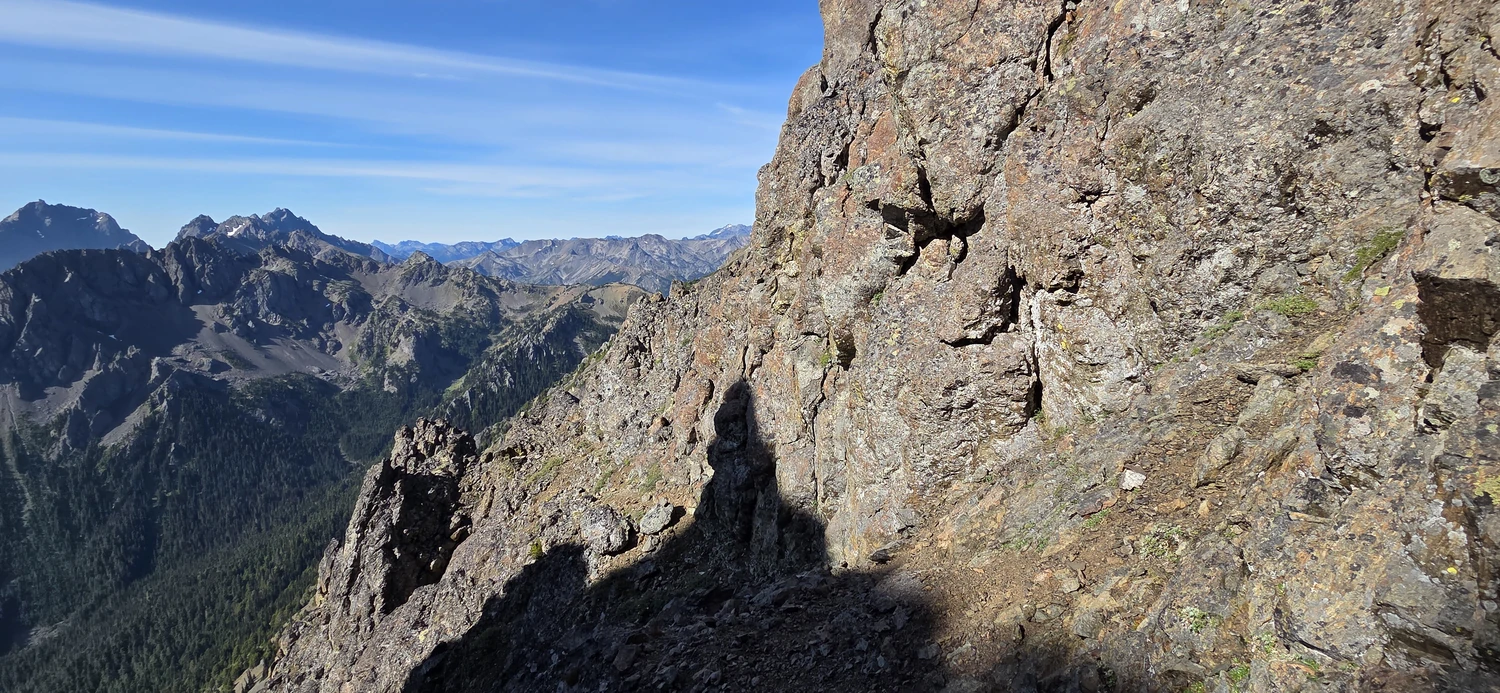
That descent (or ascent) of Buckhorn Northeast is probably the crux of the entire Buckhorn Worthington traverse.
Dropping from the east side of Northeast Buckhorn, I found several climbers trails heading in different directions. None provided an obvious answer. To complicate things further, the hillside was a mixture of loose dirt, crumbly rock, and small bushes with cliff-outs hidden everywhere.
Several slopes looked completely reasonable from above only to end in terrain I had no interest in down climbing. Even with plenty of route-finding experience, puzzling out this section was difficult.
Eventually I connected several small gullies, made use of a few veggie belays, and carefully worked down some unstable rock. It was slow, uncomfortable, and probably the section of the day where I spent the most time staring at terrain and wondering where exactly I was supposed to go next.
It also felt pretty epic.
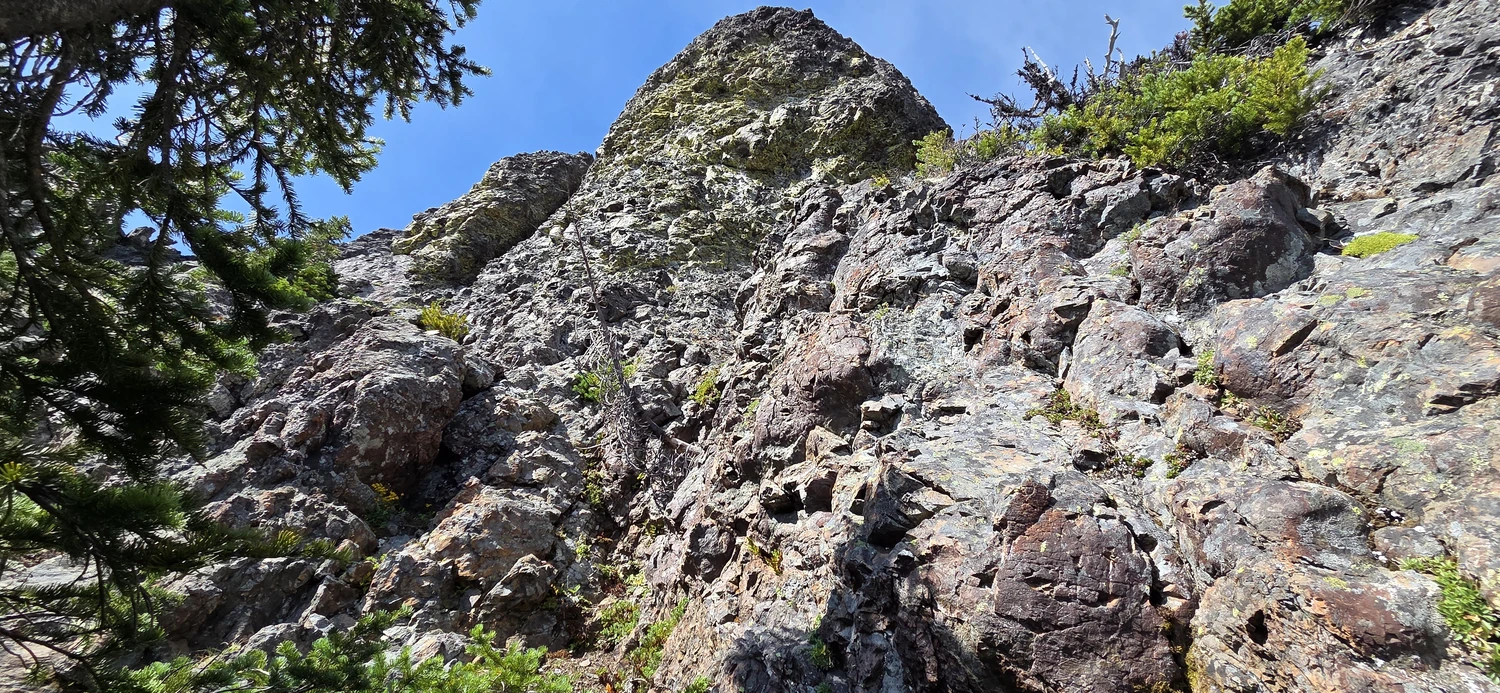
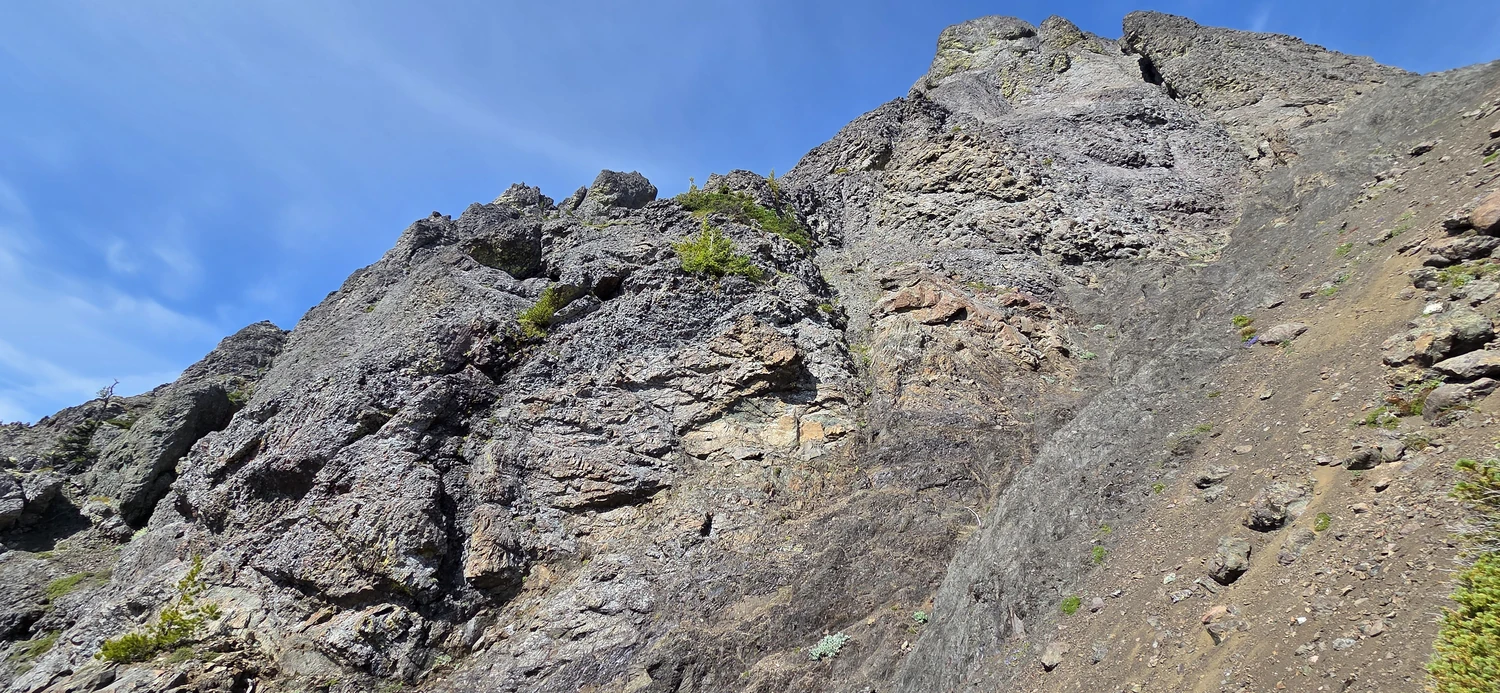
As I approached the ridge connecting toward Iron Mountain, I noticed several climbers coming from the opposite direction.
At one point I dislodged a few rocks that went careening downhill. Knowing people could potentially be underneath me, I immediately shouted, "Rock!"
We communicated by yelling across the slope and decided they should climb through the loose gully before I moved any farther. Once they were above me, I made an uncomfortable downclimb until I reached a position outside the main rockfall zone.
"Climb on!"
Loose rock is everywhere along the buckhorn Worthington traverse. Whether someone is in your party or not, pay attention to where other climbers are positioned. A small rock knocked loose from one of these ridges can quickly become a serious problem.
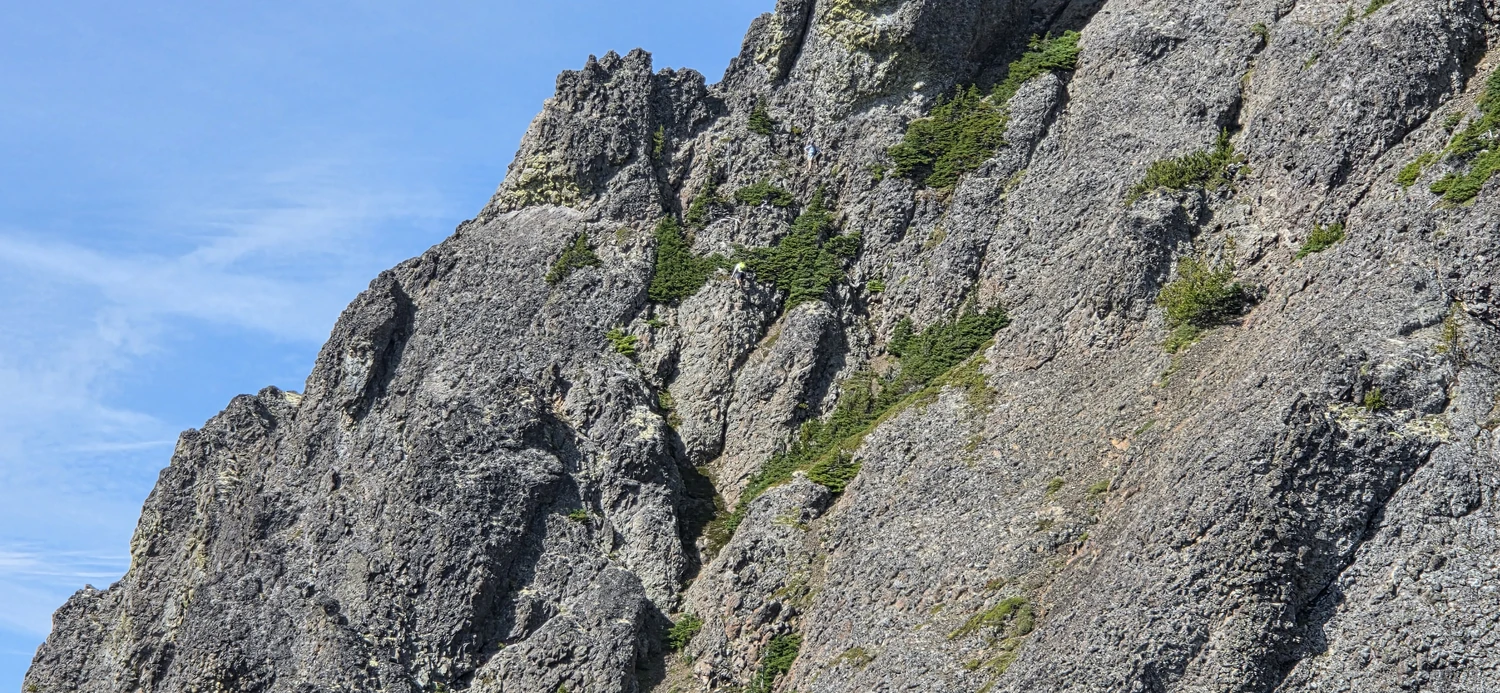
Compared with Northeast Buckhorn, Iron Mountain felt easy.
The route climbs through a couple of boulder fields and more loose rock but is mostly straightforward Class 2 terrain.
From the summit of Iron Mountain, things immediately become more interesting again.
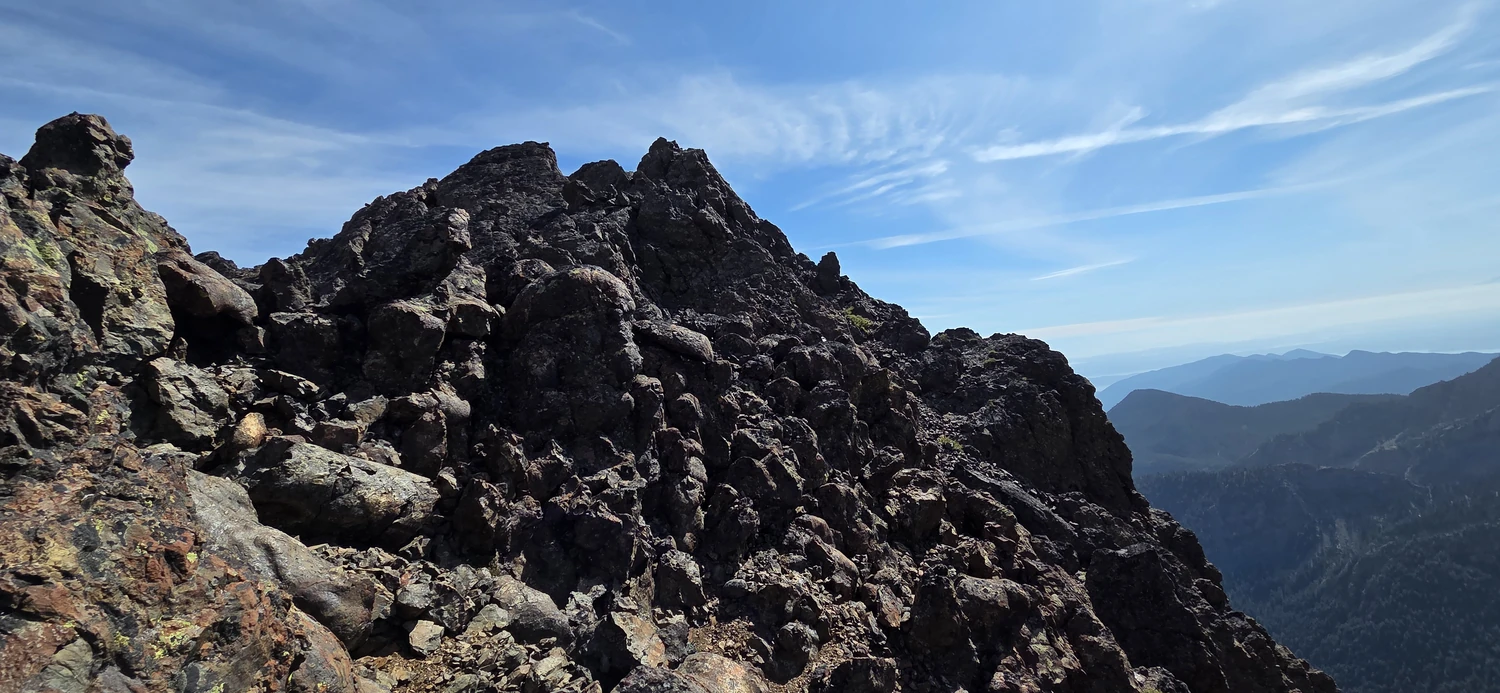
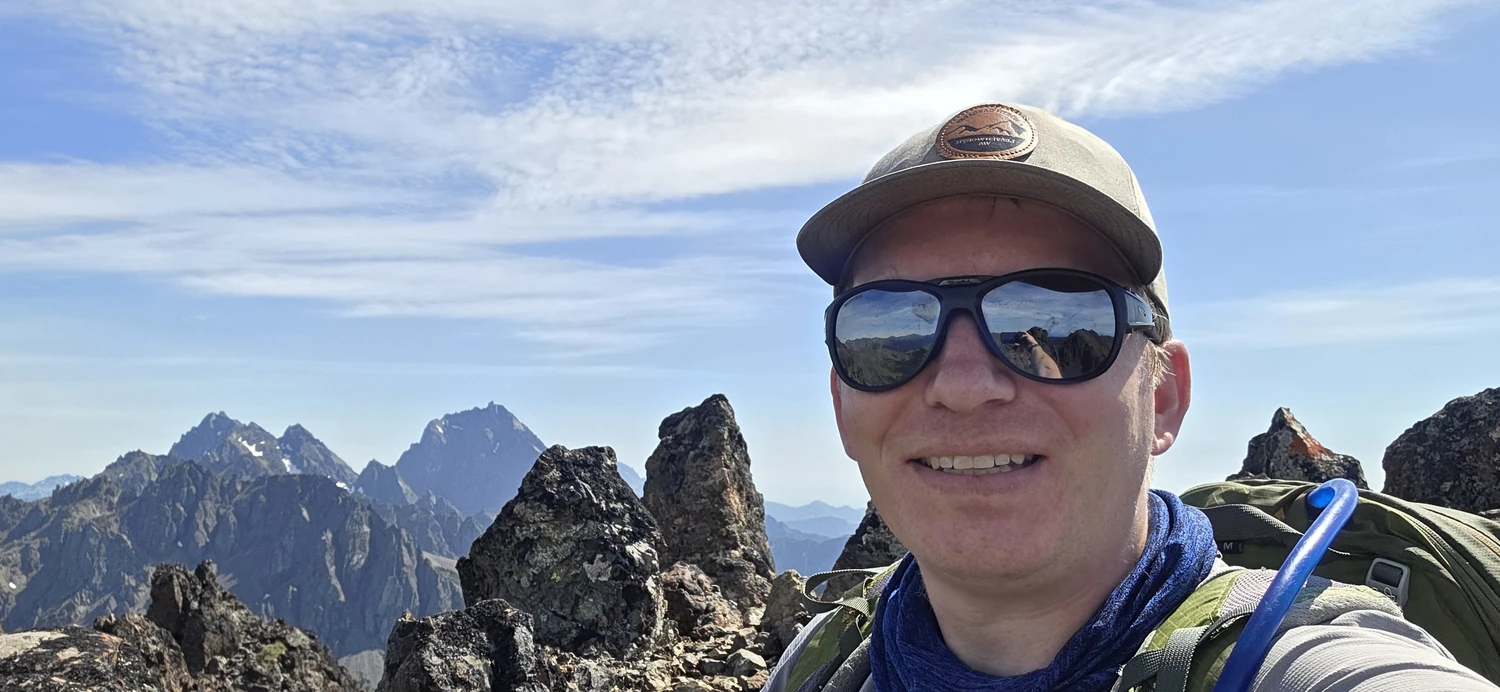
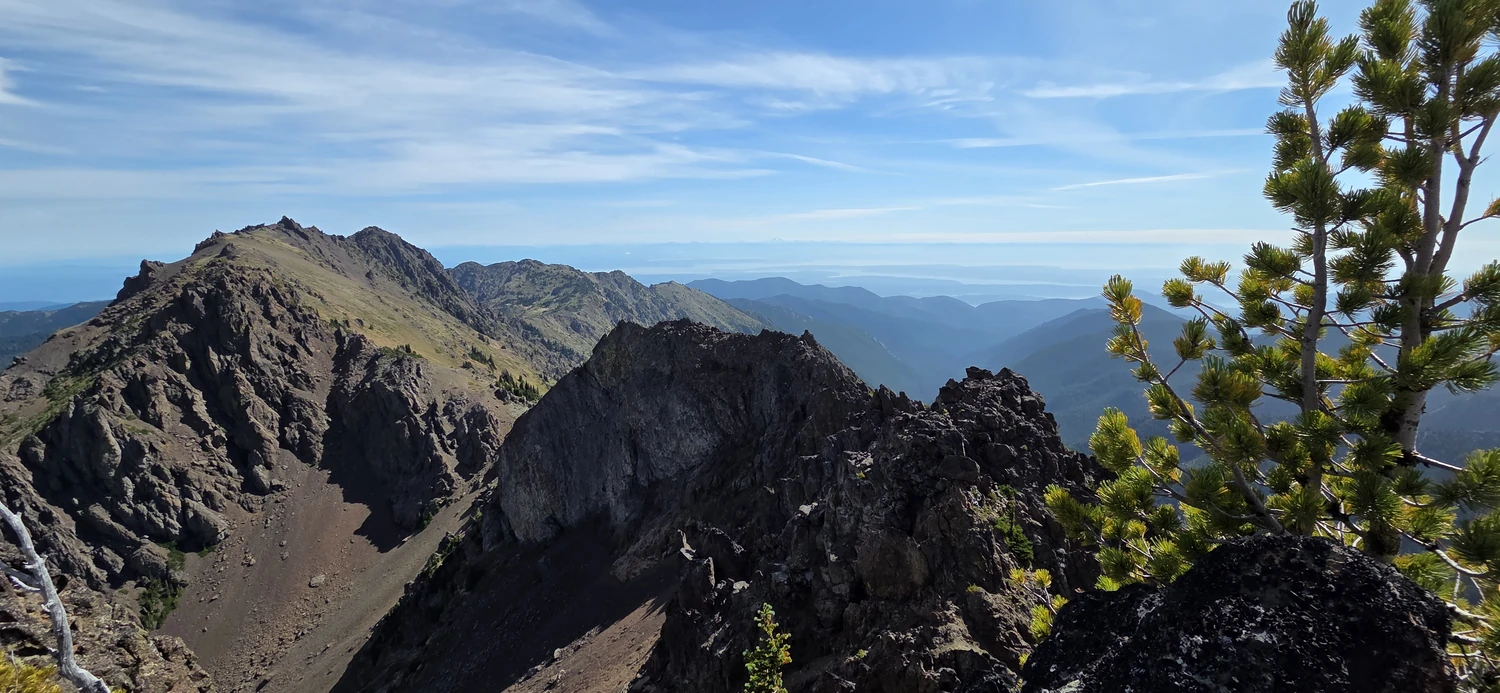
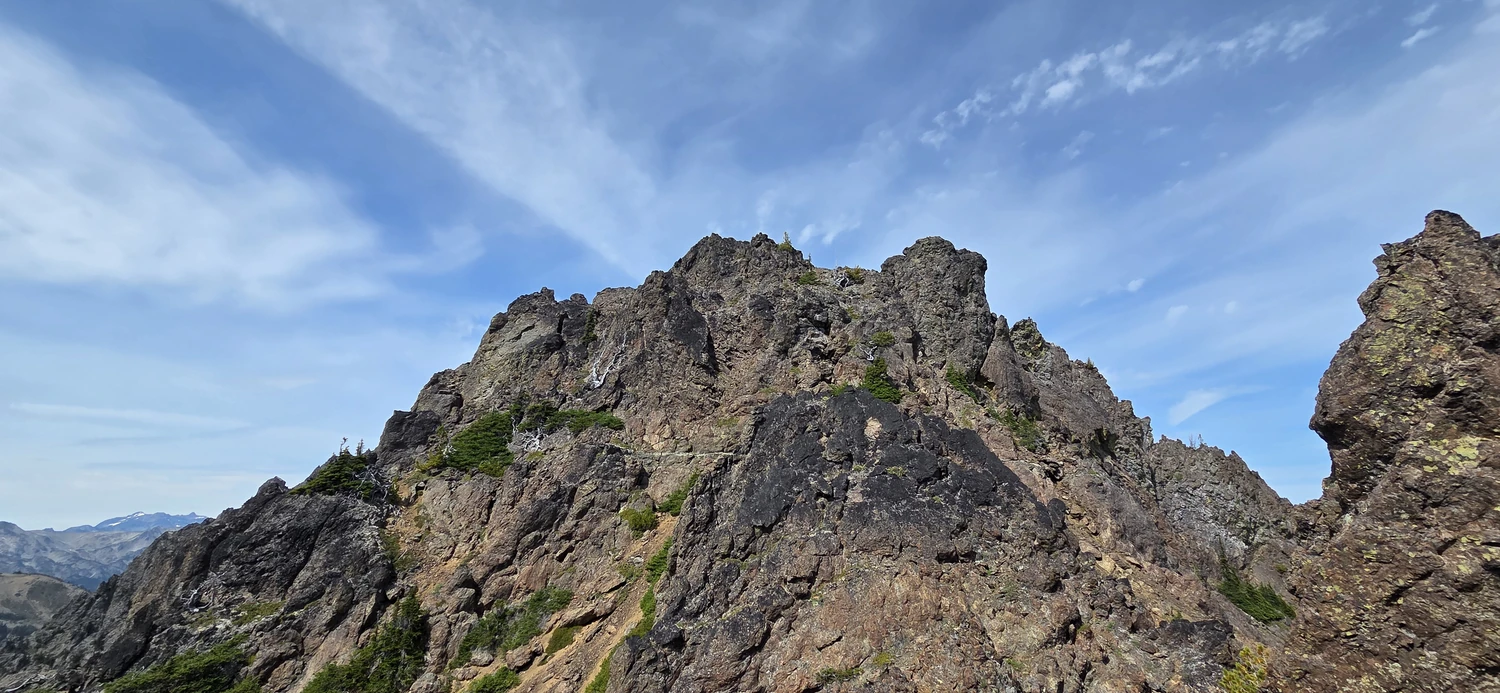
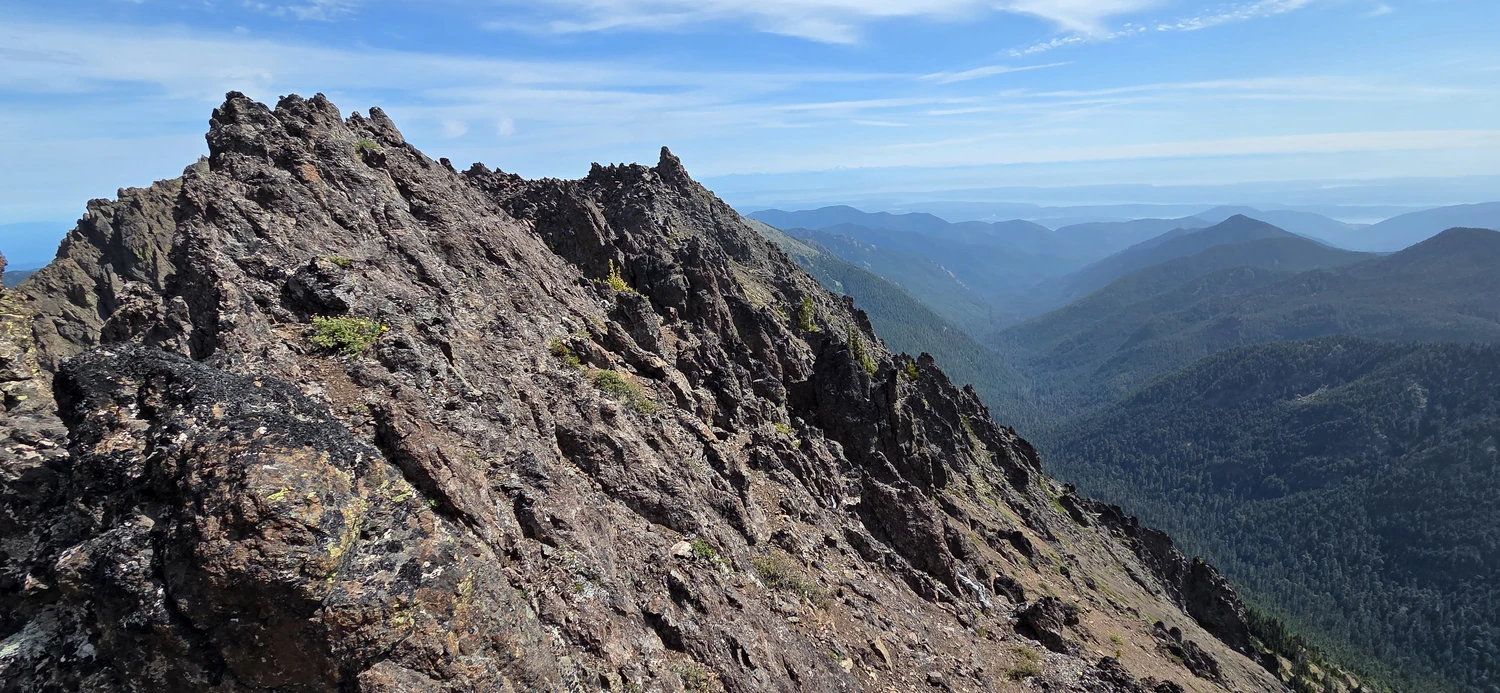
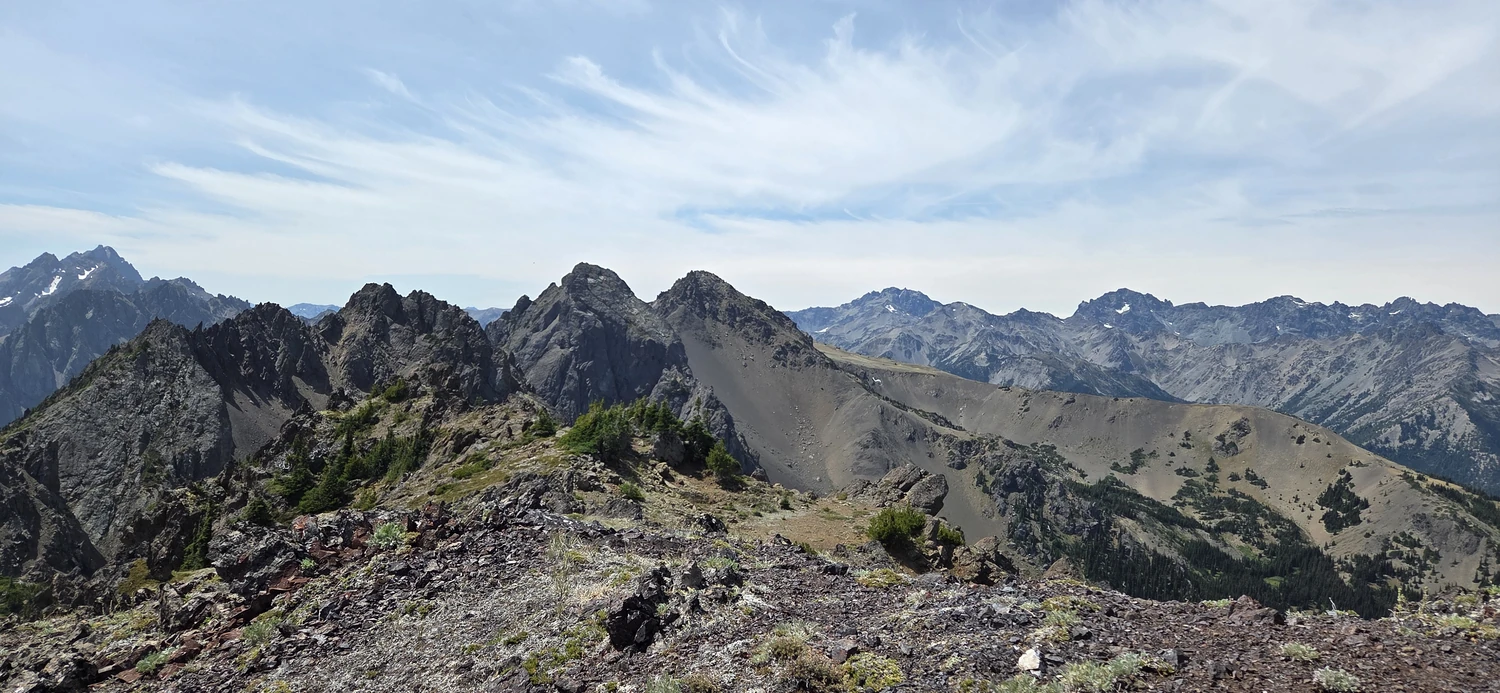
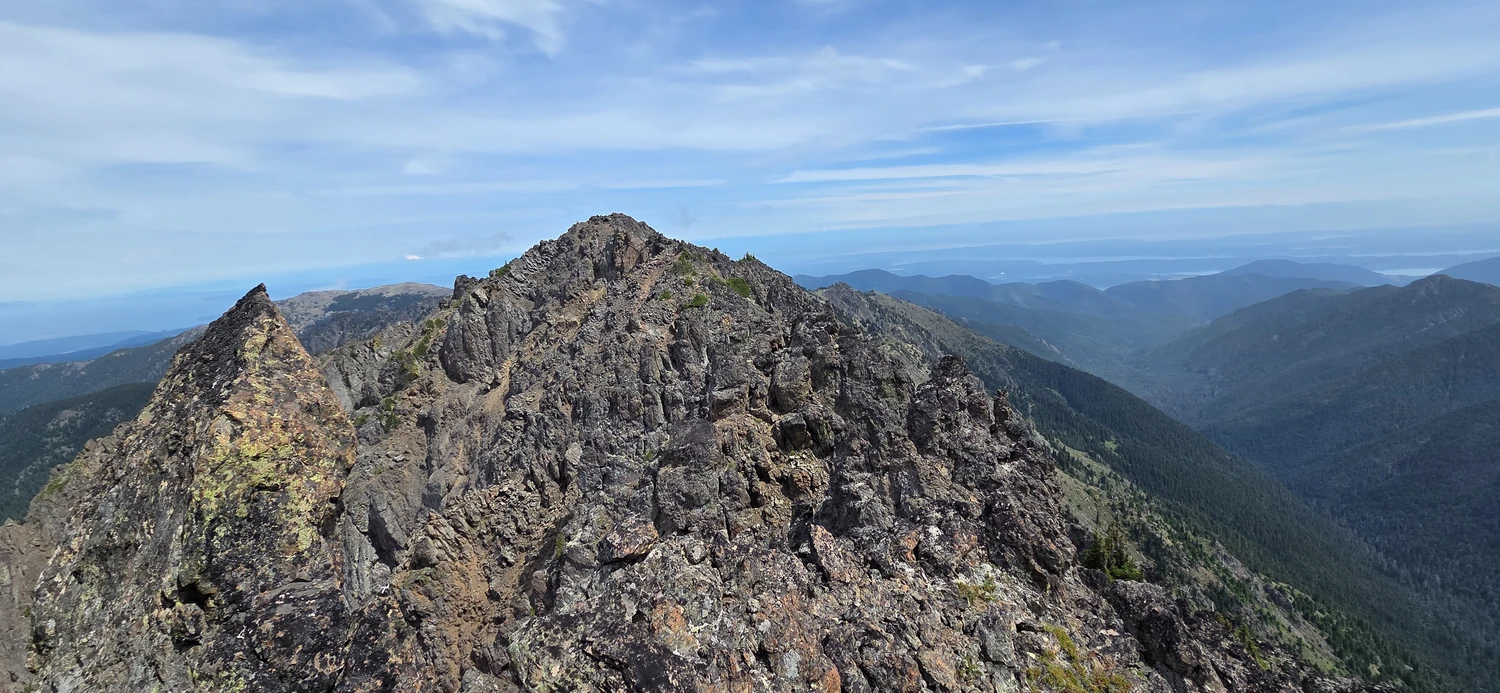
Following the summit of Iron Mountain, the scrambling becomes a bit more committing as the long, daunting ridge toward Mount Worthington stretches out ahead. From the summit, I could see a track dropping down into the basin and skirting around the ridge, but the entire route appeared to be covered in loose sand and scree. It looked incredibly unpleasant, so I decided to stay high and scramble my way directly along the ridge instead.
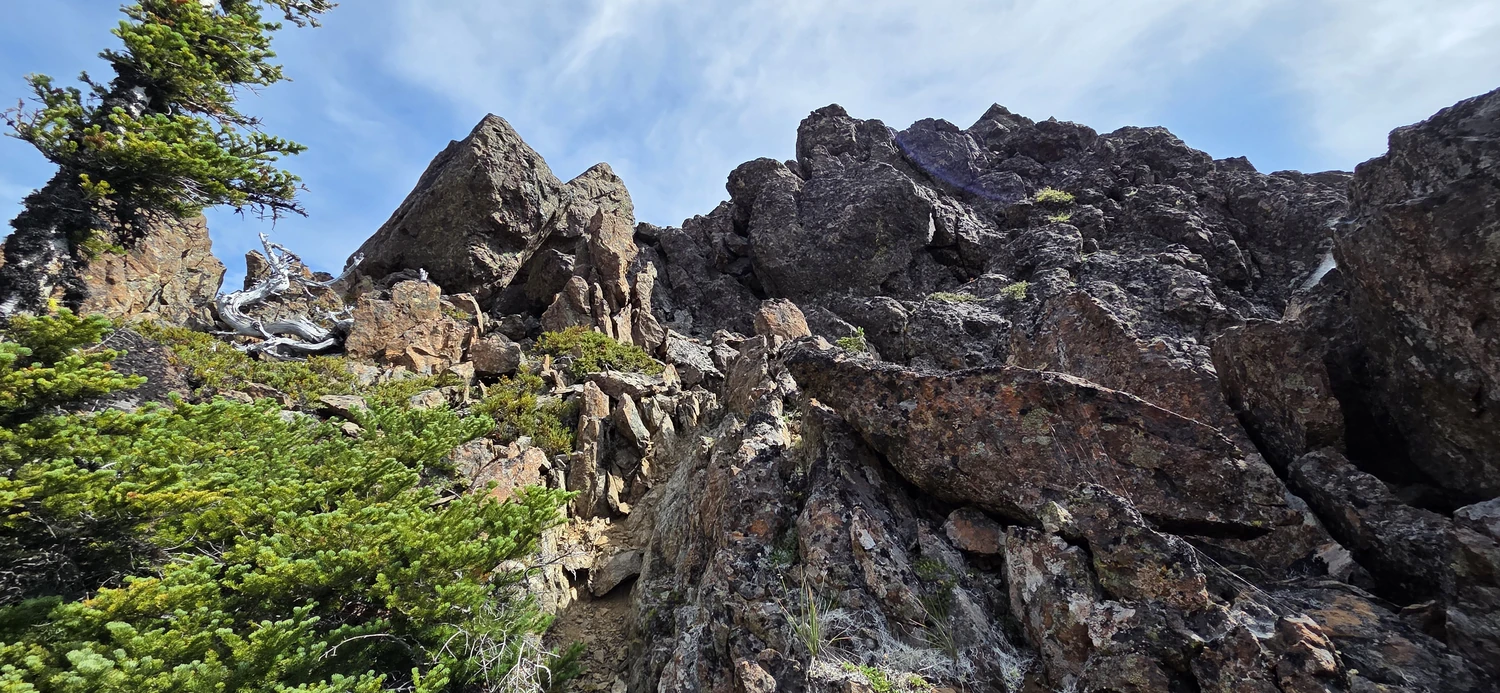
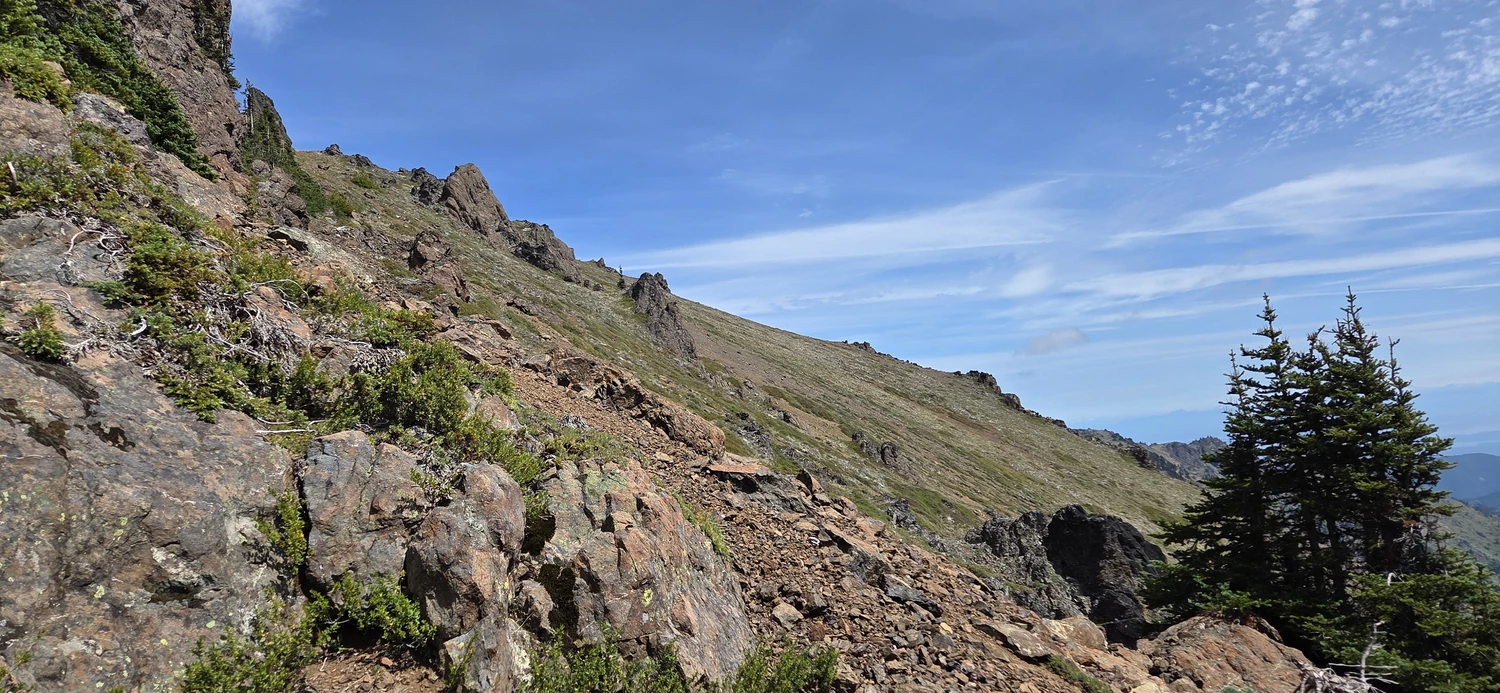
That turned out to be the better choice. The key is to favor the west side of the ridge whenever possible. The east side continually cliffs out and, while there are places where it can be navigated, the terrain is considerably more difficult. Staying on the west side keeps most of the scrambling around Class 2–3 and allows you to follow the ridge without constantly dropping elevation only to climb it again.
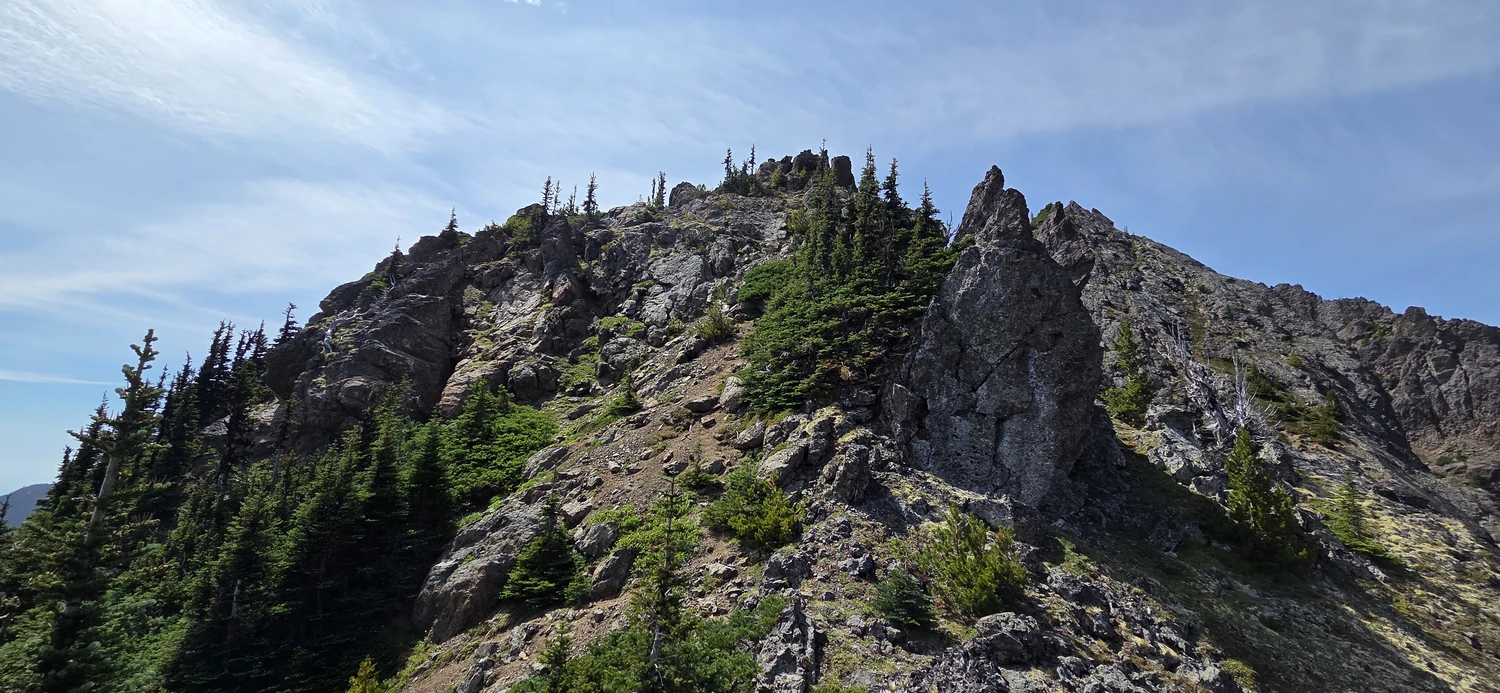
Unfortunately, at this point, I was starting to fall apart.
The Buckhorn Worthington traverse is extremely exposed to the sun, and by this point I was beginning to suffer from what felt like sunstroke. Whenever I found a patch of shade, I stopped to sit down for a few minutes. I had carried three liters of water, and I was extremely happy to have every bit of it. Without that extra water, my situation could have become far more serious.
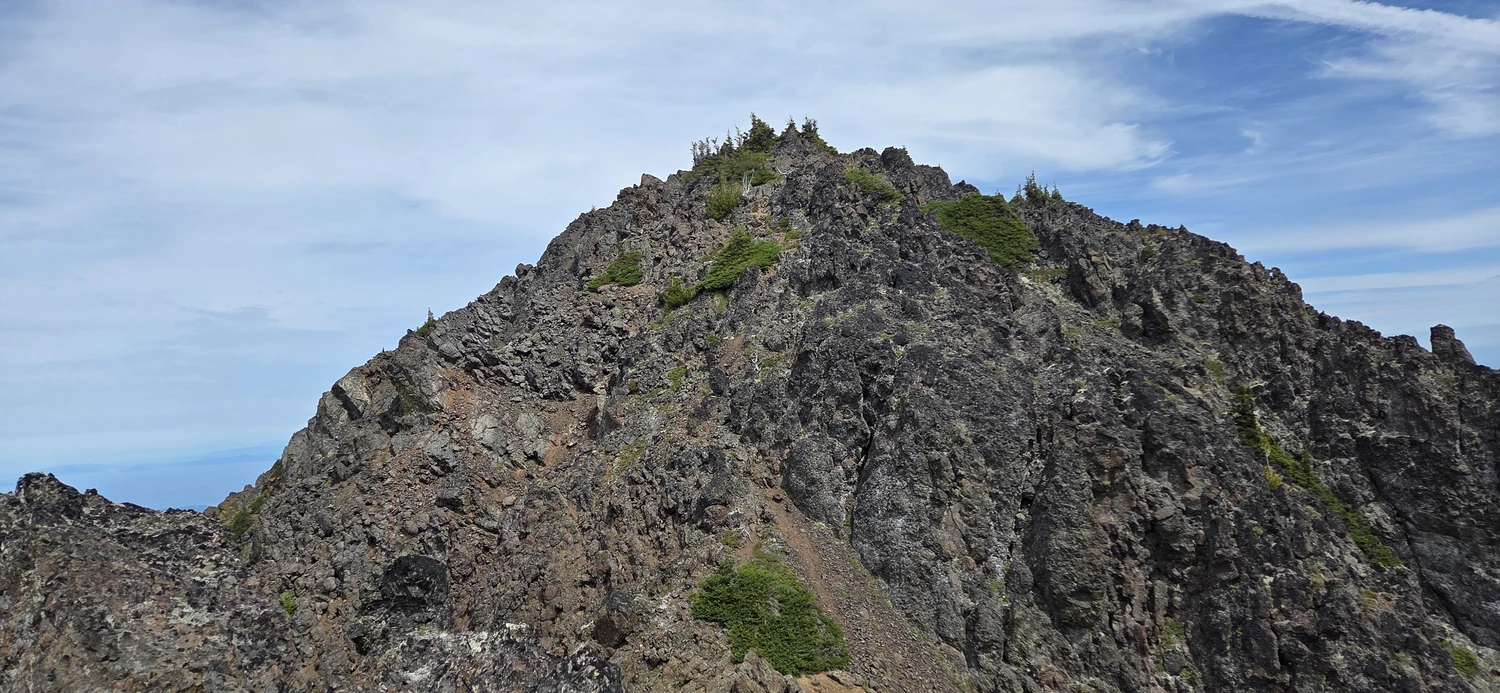
Luckily, from the end of the ridge between Iron Mountain and Worthington, the route returns to a steep hike. This lent itself to me being able to take many breaks and keep my physical condition in check while working towards the next Summit
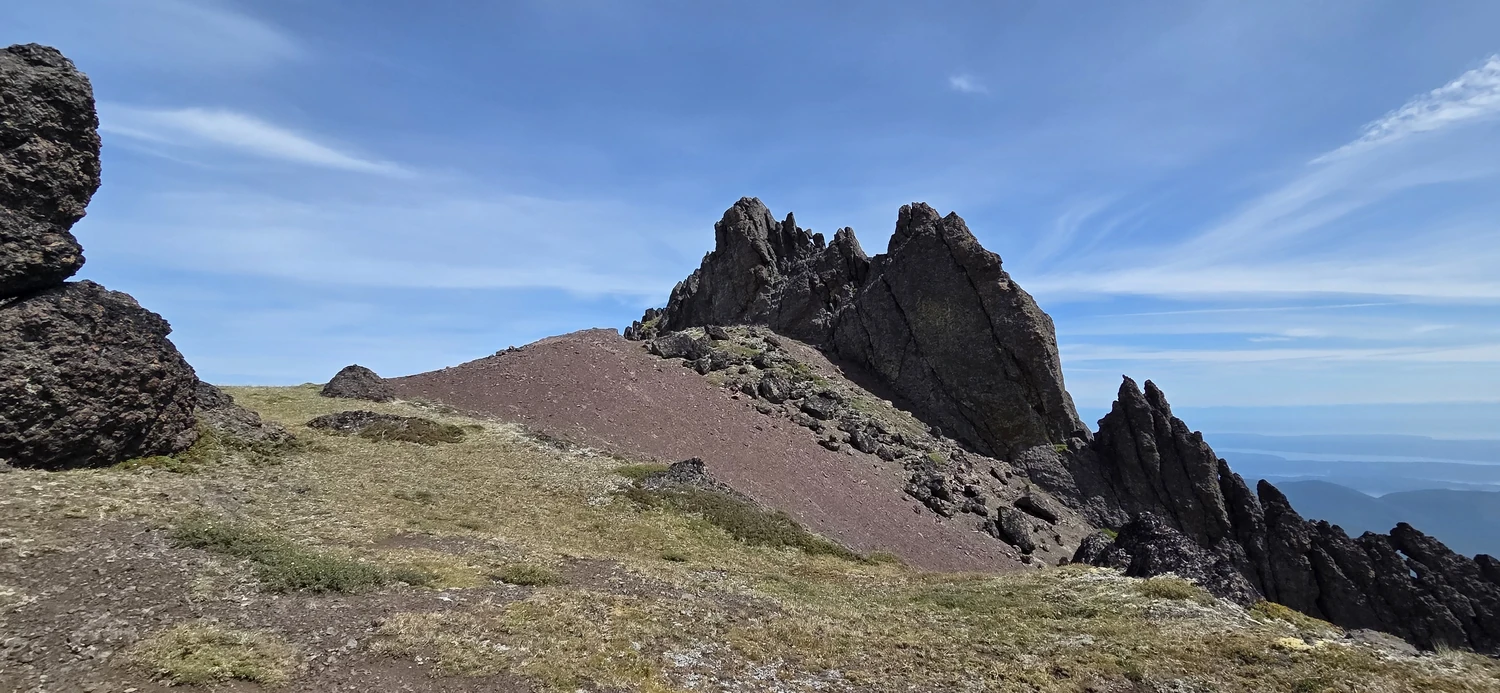
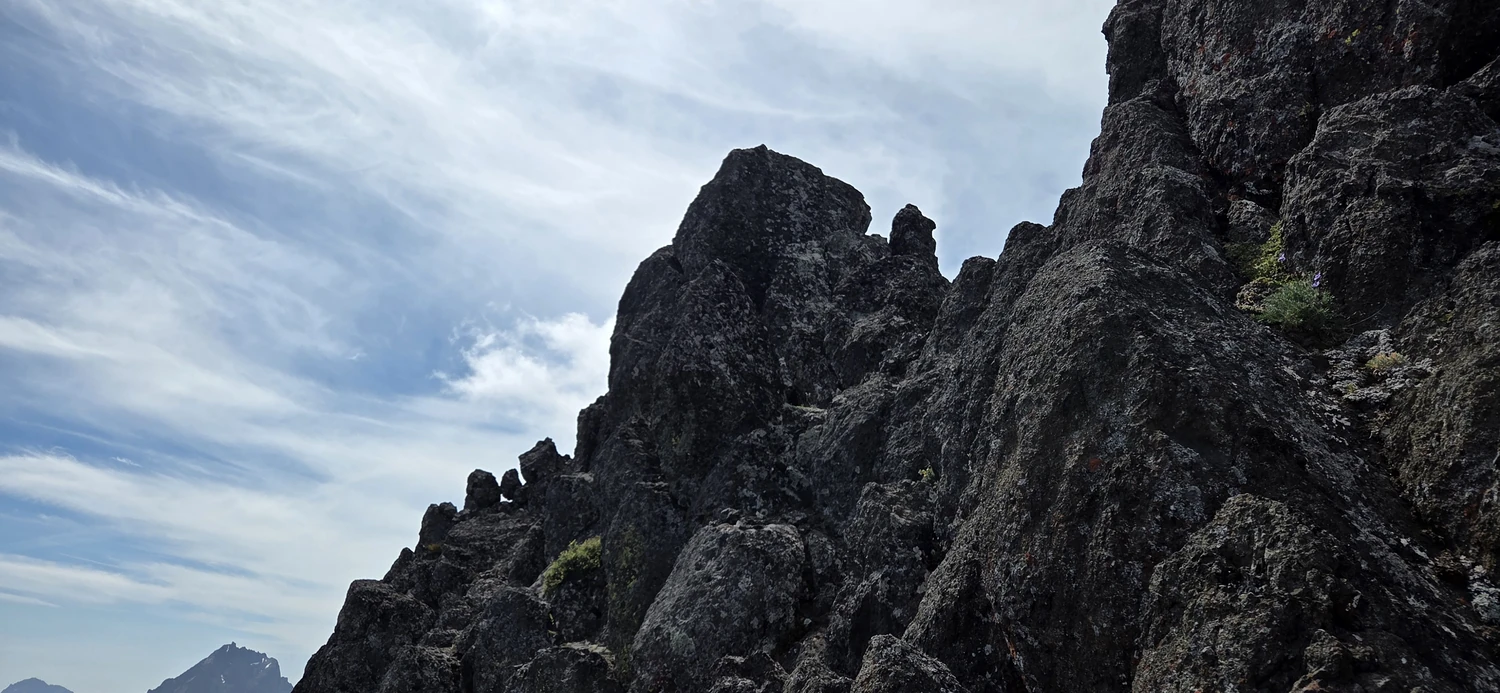
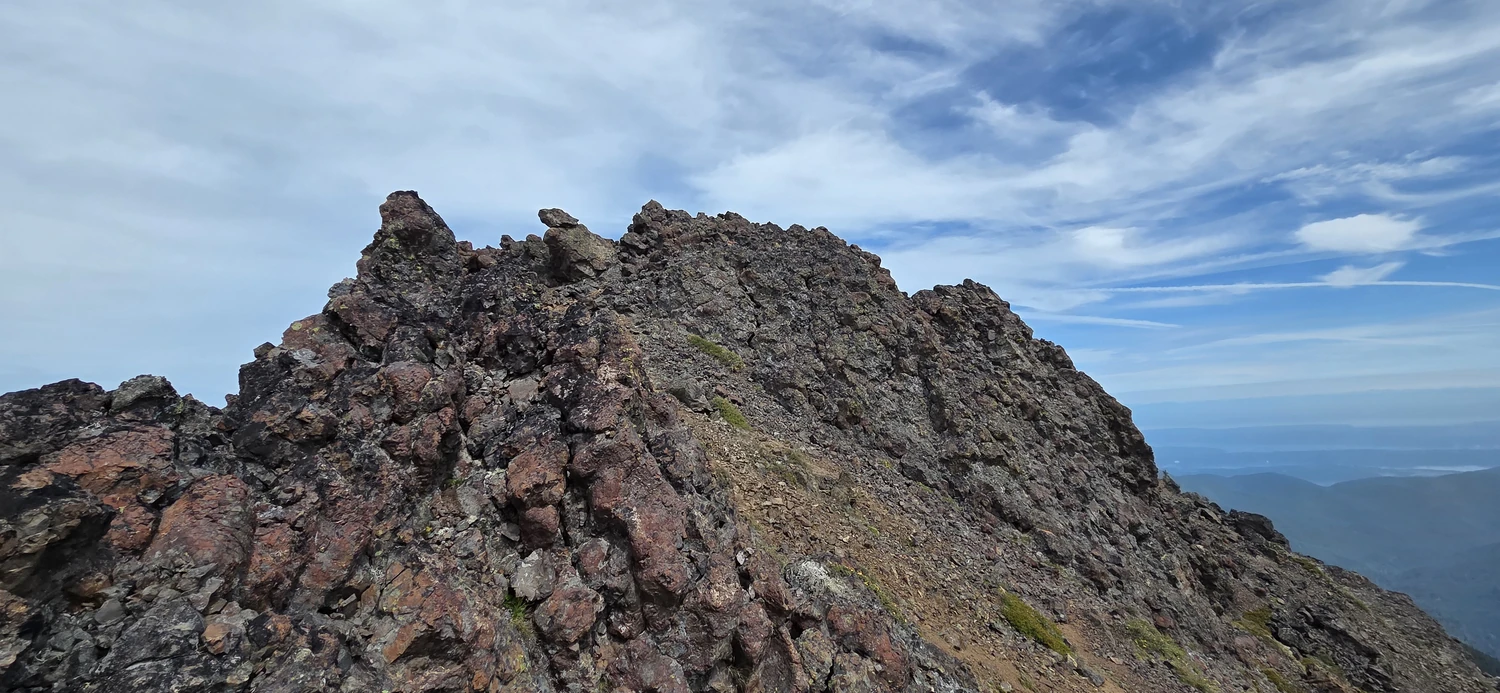
Approaching from the south, I moved east, scrambled around a gendarme, and gained the north side of the summit area. From there I could not see an obvious way onto the summit block.
So I chose one and went with it.
The line I climbed was easily fourth class with substantial exposure. Worse, after committing to it I discovered that it did not even lead directly to the summit.
I scrambled around toward the north side and eventually found what turned out to be a fairly straightforward third-class route onto the summit block.
if the route looks too steep, it probably is. Keep looking.
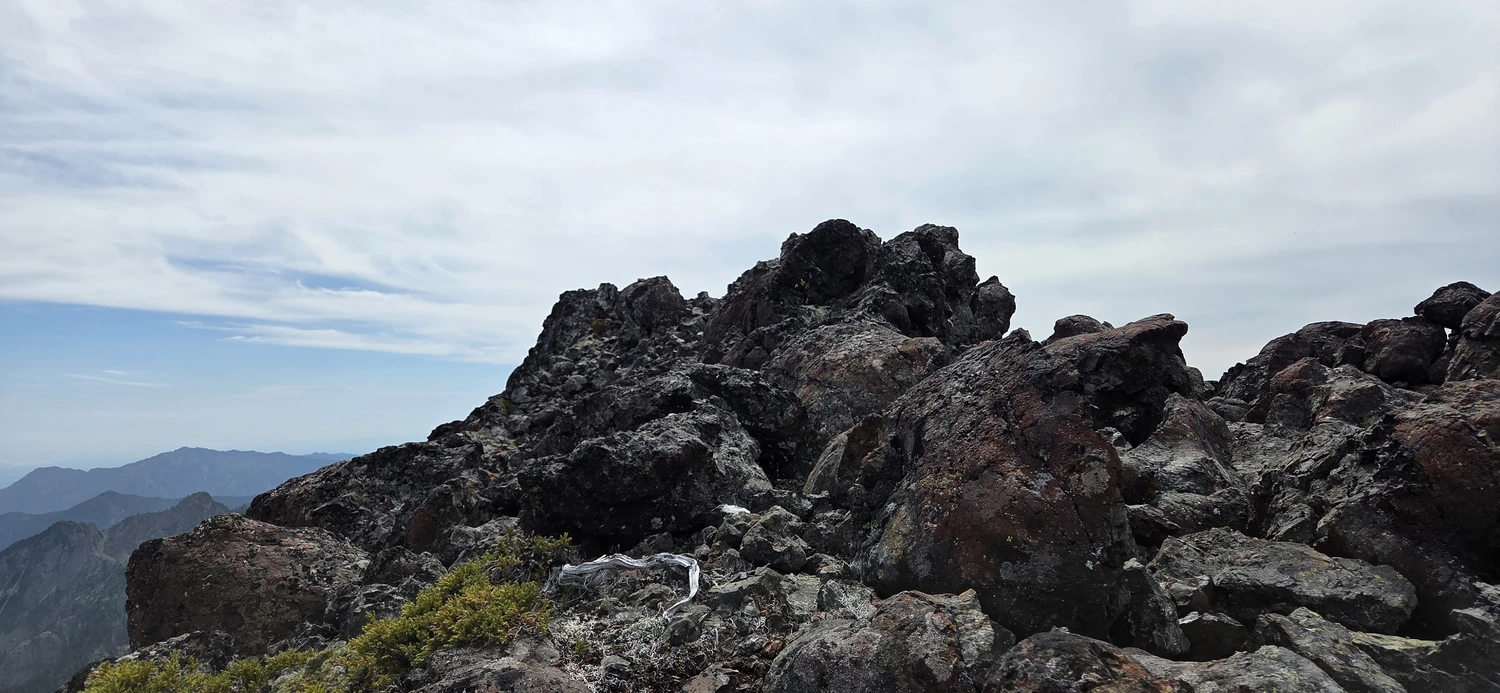
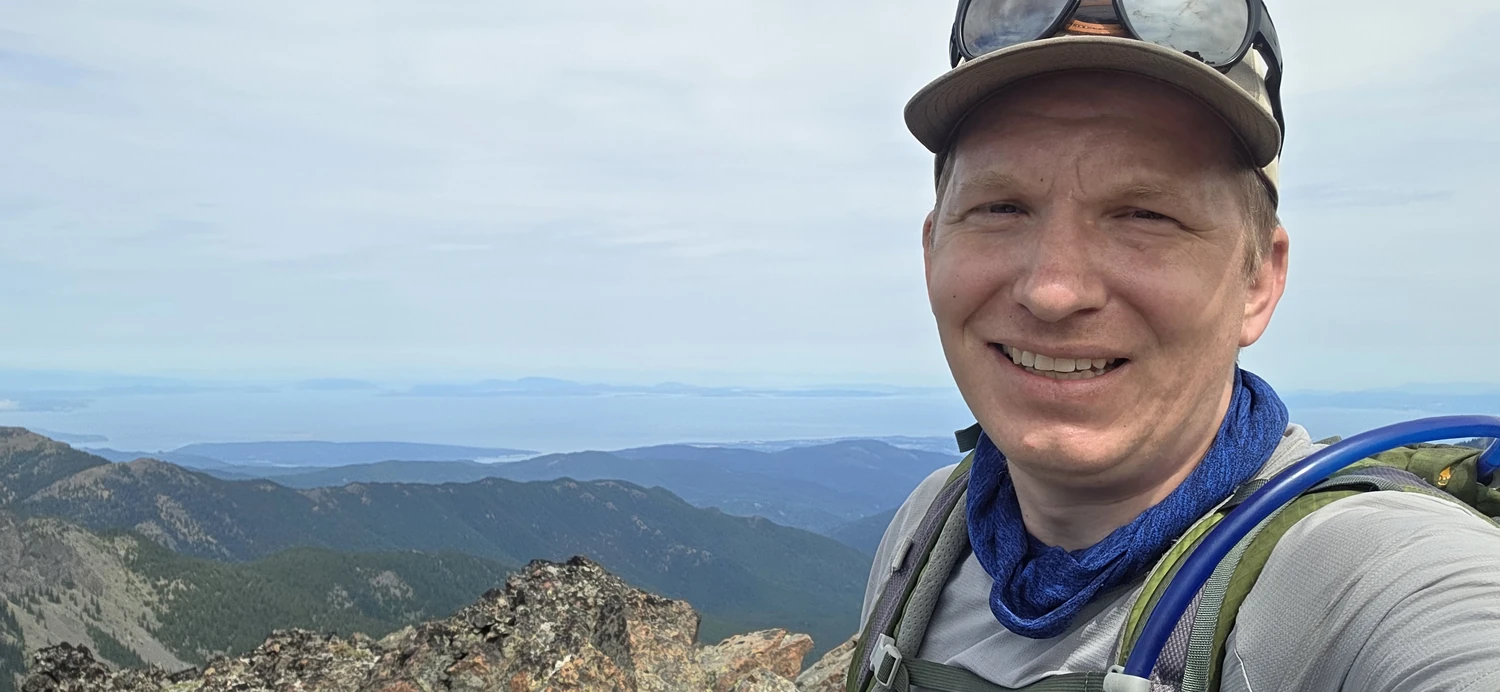
When I finally reached North Worthington, I checked the time. It had taken about 45 minutes and during my brief stay on top I concluded with my slow pace and current condition I would not be able to continue on to Mount Townsend and the remainder of the ridge
North Worthington itself felt like a relief more than a destination. The summit is not particularly impressive and has essentially the same views as the surrounding ridge. I stayed only long enough to figure out what I wanted to do next.
Many people doing the Buckhorn Worthington traverse continue along the ridge toward Mount Townsend before eventually returning to the parking area. That had been my original plan. At this point, and in my current condition, continuing farther did not seem appropriate.
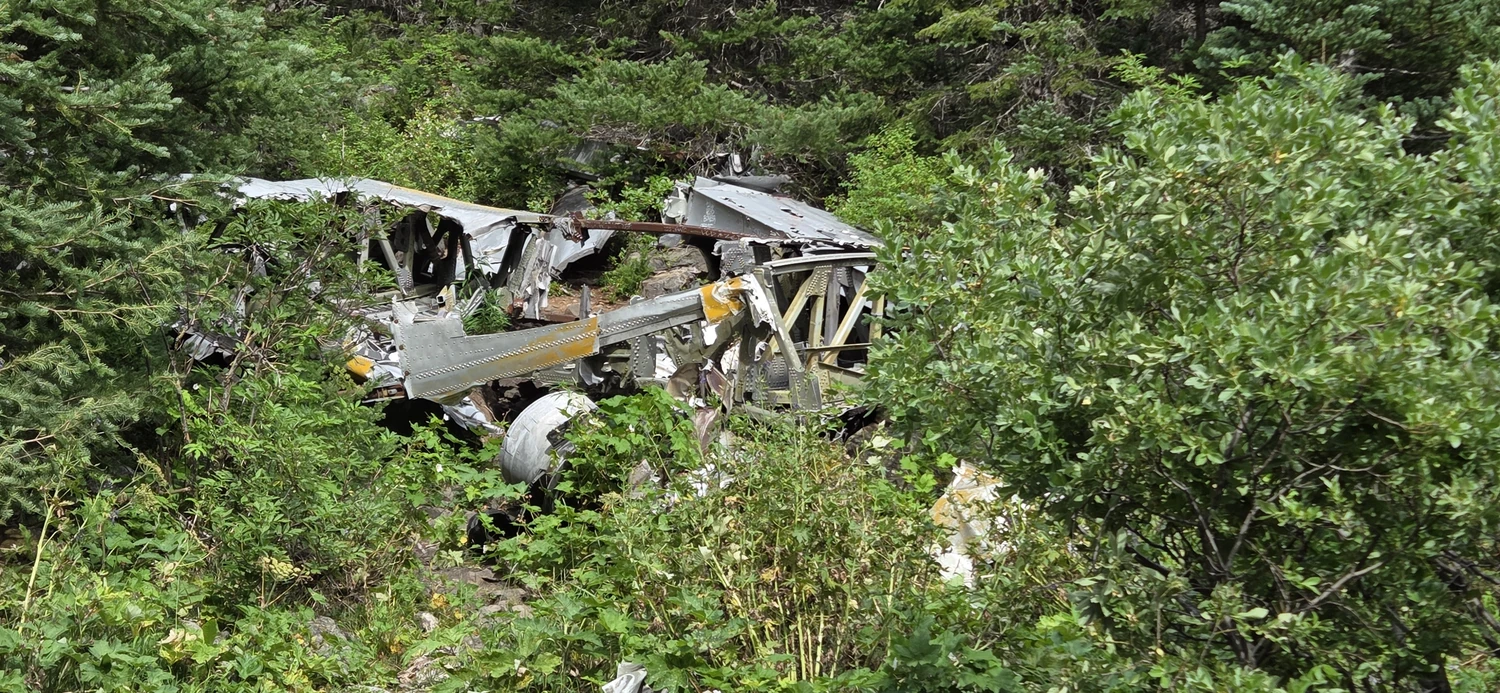
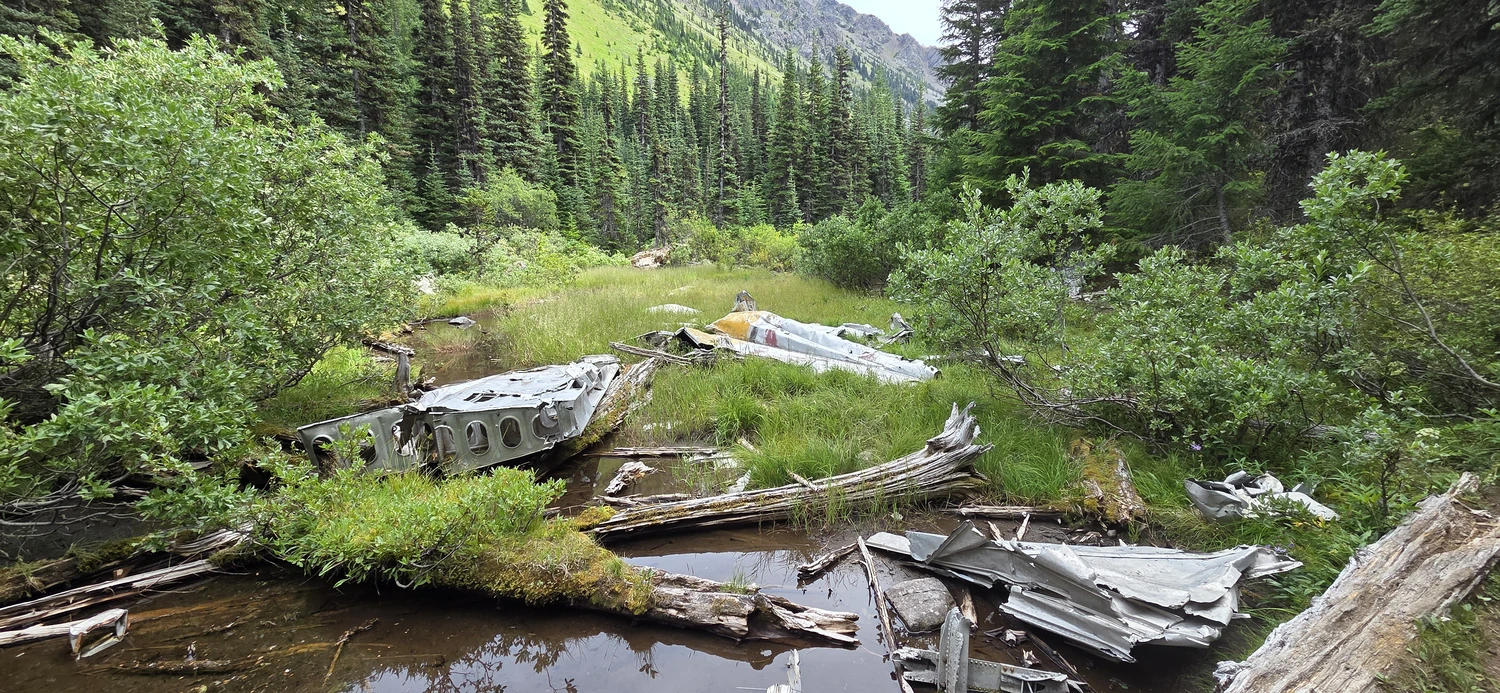
Near the saddle below North Worthington sits the Tull Canyon Trail. Tull Canyon contains the historic site of a B-17 crash, and I knew that if I could reach the established trail I would have a much easier walk back toward Tubal Cain and out to the carpark.
In my head, this immediately became the B-17 escape plan. With that plan in mind I began the descent to the ridge saddle below.
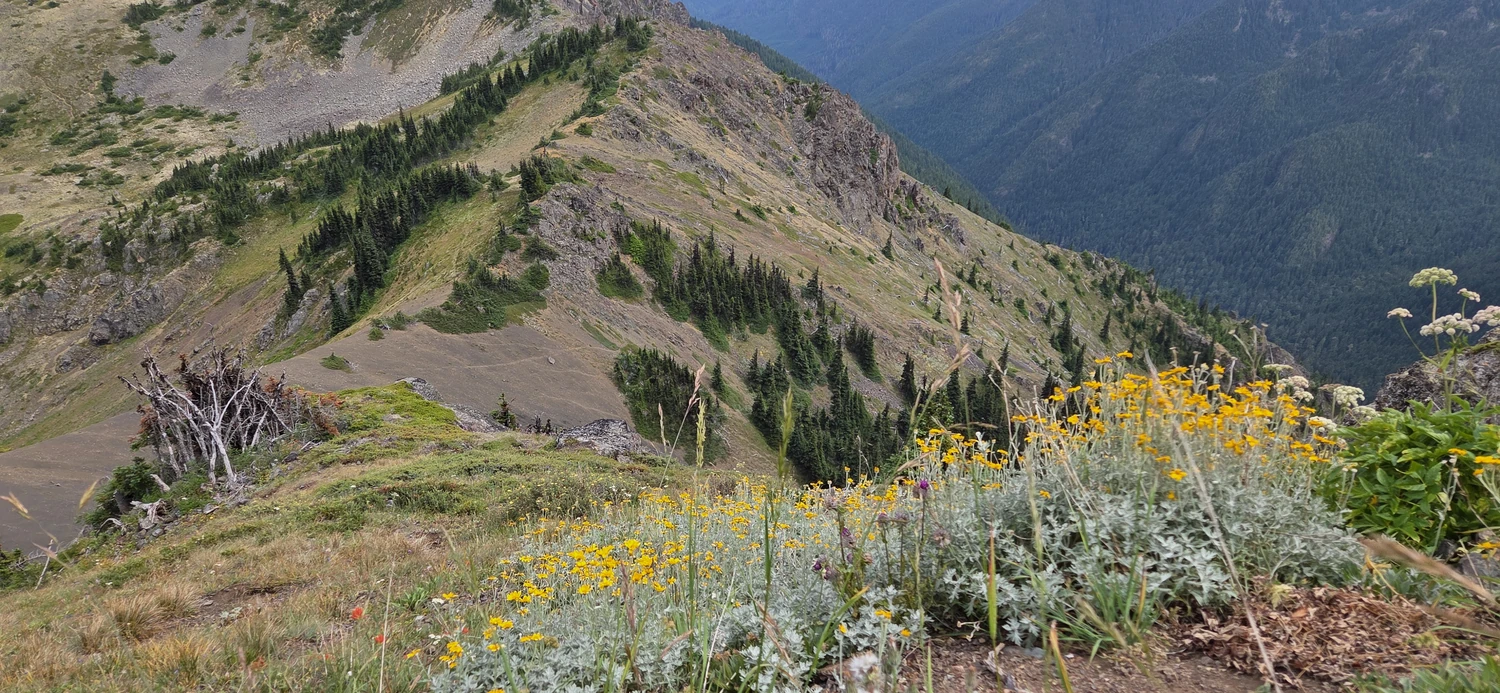
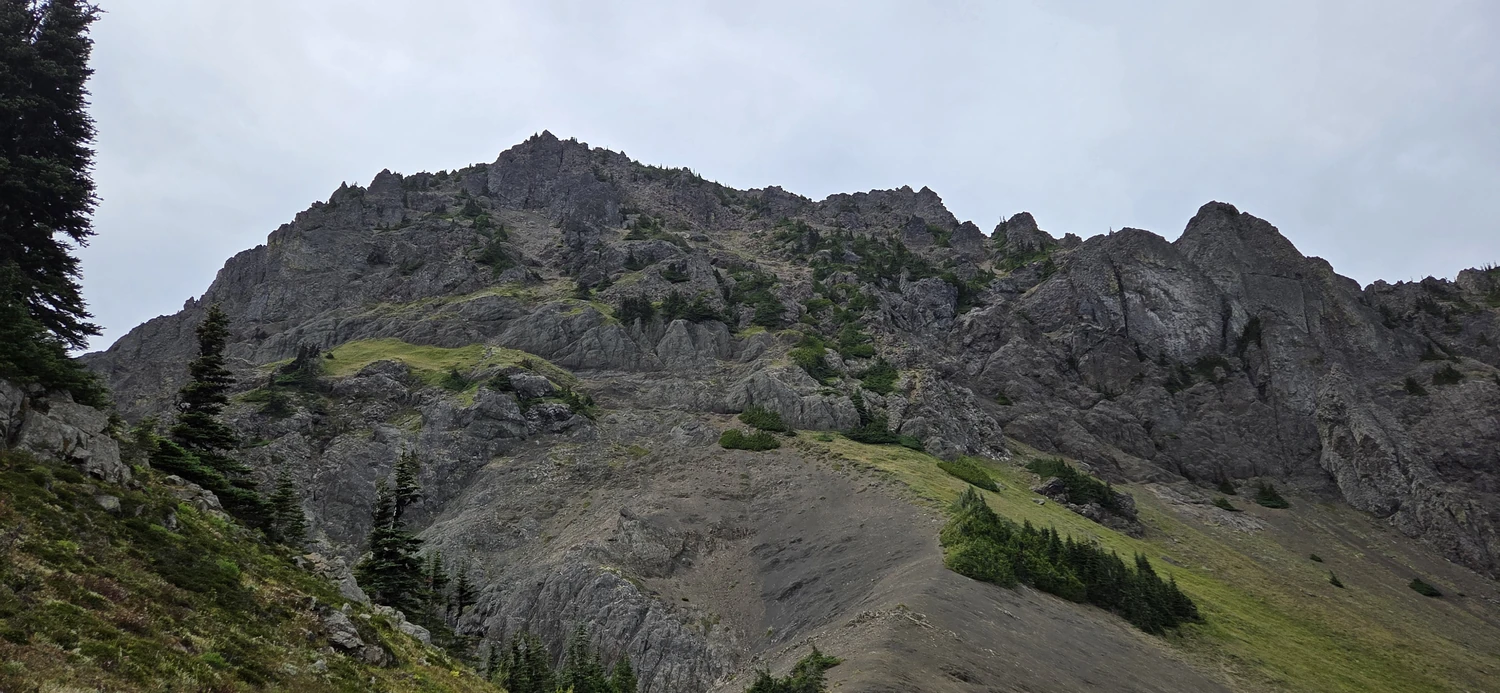
I was not sure how difficult getting down into the basin would be, but several climbers' trails descended from the saddle. They crisscrossed enough that navigation was still required, although compared with the descent from North Buckhorn it felt relatively civilized.
After about 30 minutes I reached the official Tull Canyon Trail.
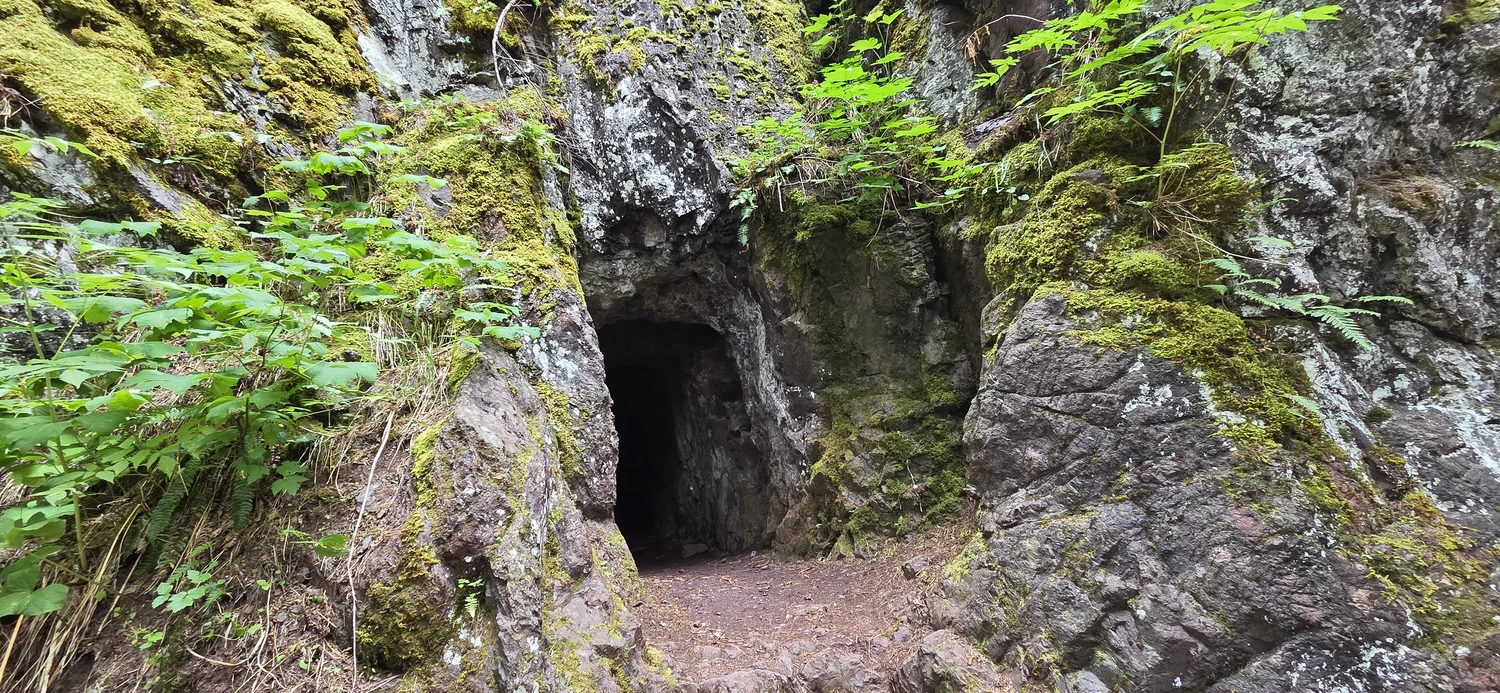
From there, the Buckhorn Worthington traverse effectively turned into a leisurely hike out.
I reached the car around 5 p.m. and immediately started making the chili dogs I had brought along. With a root beer in hand, I sat in the parking area thinking about everything that had happened during the day.
One boy who looked around ten years old apparently agreed. He started trying to talk his way into one of my chili dogs before his parents quickly told him to leave me alone. After eating, I climbed back into the Corolla and began the hour-long crawl down the rough road.
When I finally reached the ferry, the posted wait was somewhere around two hours. Somehow I ended up waiting only about 45 minutes. After the weekend plans had been completely rearranged by wildfire smoke, I could not have asked for much more.
Sushi, five mountains, a ridiculous amount of scrambling, chili dogs, and home in time to sleep before work Monday.